DR Dabber
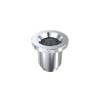
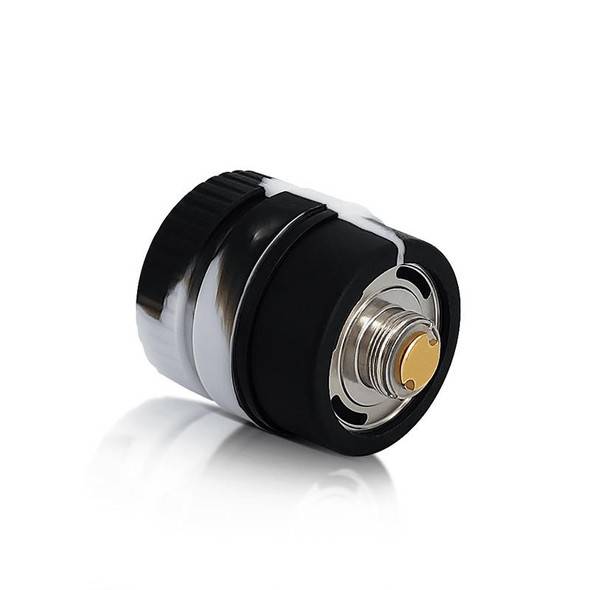
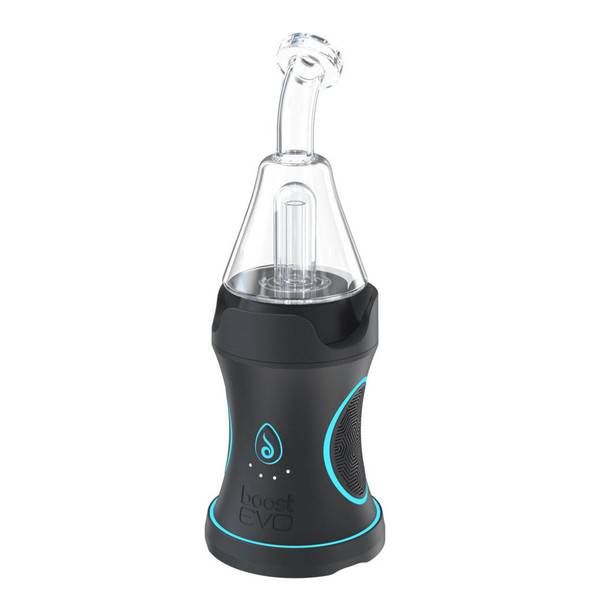
Dr Dabber Boost EVO Quartz Atomizer - 1 Atomizer
- SKU:
- E-DRDBR-BSTEVO-ATMZR
- UPC:
- 854904007920
- Condition:
- New
- Availability:
- Same Day Shipping! (When order placed before 2pm EST)
Description
Dr Dabber Boost EVO Quartz Atomizer
The Dr Dabber Boost EVO Atomizer is a fully built component that includes the IntelliTEMP heating element, a quartz vaporizing chamber, and a stainless steel body. The heating element and internals of the atomizer are fully isolated from your oils as well as the vapor-path to prevent any residue build up.
The IntelliTEMP heating element includes a built in, patent pending temperature sensor that sends feedback on the atomizer's temperature in real-time to the unit to deliver accurate, repeatable vapor experience every single time. The Boost EVO Quartz Atomizer also features our Snaptech magnetic system, making the loading process incredibly simple, with no threading or twisting necessary for insertion or removal.
Compatibility:
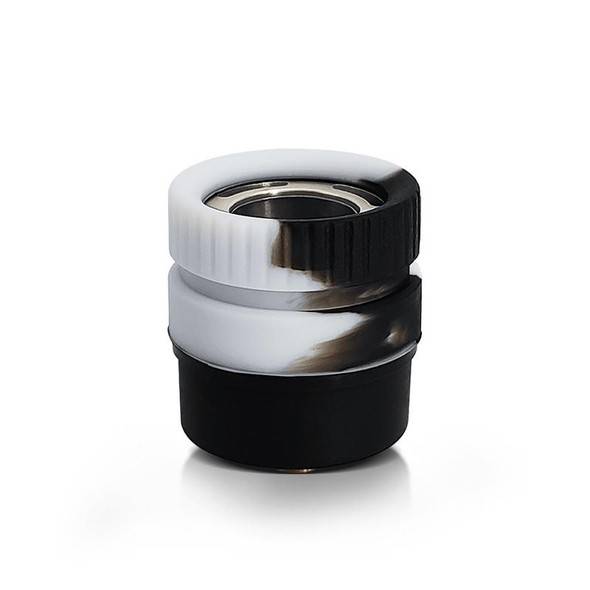
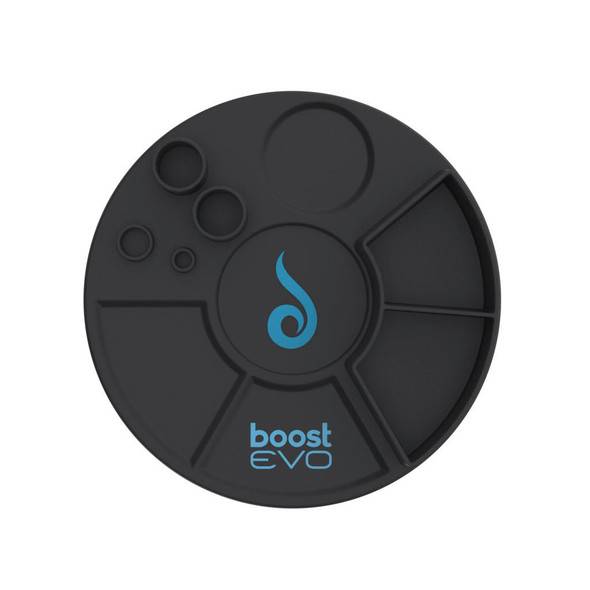
- Dr Dabber Boost Evo Silicone Dabbing Station
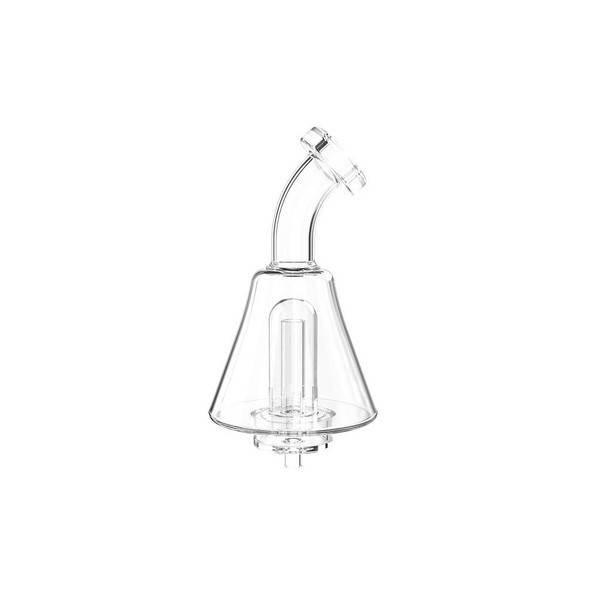
- Dr Dabber Boost Evo Replacement Glass
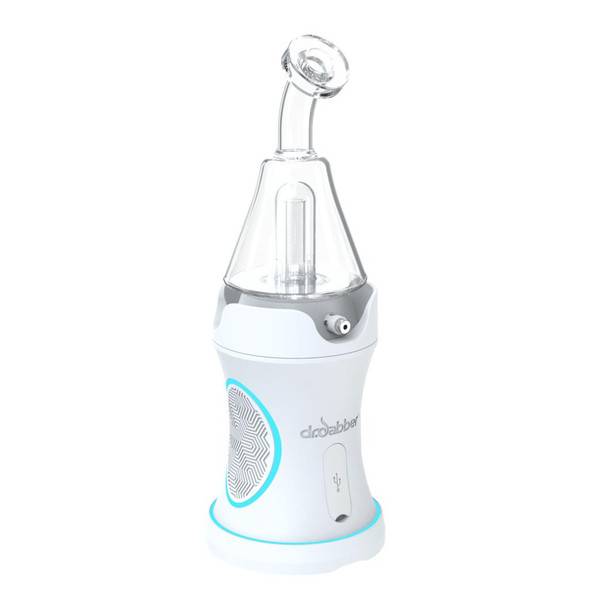
- Dr Dabber Boost Evo
- Dabbing Accessories
5 Best Electric Dab Rigs of 2021
While plenty of dabbers still prefer their analog setups, there's no denying that the e-rig has become more and more of a must-have in recent years, providing unparalleled convenience and exceptional consistency to the dab enthusiast.
For those who don't know, an E-Rig is a battery powered Electronic Dab Rig used in place of the classic Dab Torch, Quartz Banger, or Rig setup. Differing from a DesktopE-nail, an Erig does not need to be plugged into a power source, nor attached to a rig to be used. It's simply an all-in-one battery powered device, with water bubbler filtration, a coil, and a base battery pack power device which can be charged and taken with you to be used anywhere you go.
#3: Dr. Dabber Boost Evo
Dr. Dabber is a big name in the dabbing world, and the Boost Evo is a hugely successful offering from the celebrated brand.
- Offering the electronic rig along with a quartz atomizer, glass attachment, and loading tool, it's got everything you need to get started.
- A single charge can offer up to 60 puffs, with a 20-40 second hold time.
- The design provides perfect airflow for smooth and rich vapor, with a magnetic quartz atomizer that intelligently reads temperature.
- Heats up in 11 seconds, with six temperature presets between 500 and 750 degrees.
- Portable thanks to its size.
- Durable materials to keep it safe.
Click Here to Read about the Top 5 Portable E-Nails of 2021!
Warranty Information
How Do I Change The Temperature Setting On My Dr Dabber Boost Evo?
Press the power button three times (3) to change the temperature setting. The temperature setting can be adjusted while the device is heating up to temperature. It is recommended to utilize the lower temperature settings when using the Dr Dabber Boost Evo, to maximize flavor, and the higher temperature setting are recommended to maximize vapor production.
- Temp 1 – 500 Degrees – Pink
- Temp 2 – 550 Degrees – Purple
- Temp 3 – 600 Degrees – Blue
- Temp 4 – 650 Degrees – Green
- Temp 5 – 700 Degrees – Orange
- Temp 6 – 750 Degrees – White
How Do I Use My Dr Dabber Boost Evo?
- After powering the unit on and adjusting the temperature setting to your preferred temperature, remove the glass attachment from the unit and add water. The attachment should be filled with water from the top and the water level should be a couple of millimeters above the percolator holes in the glass attachment.
- Attach the water bubbler attachment to the quick connect adapter.
- Load the atomizer with your preferred materials.
- Place the quick connect adapter with the glass attachment attached back onto the Dr Dabber Boost Base.
- Press and hold the power button for thee seconds (3) to initiate heat up.
- Press and hold the airflow release button when ready to clear the glass attachment.
What is “Party Mode” on the Dr Dabber Boost Evo?
Party Mode is something we usually call “session mode”, after initiating heat up the Dr Dabber Boost Evo will hold the atomizer temperature for a certain number of seconds. You can adjust the party mode settings by completing the following steps:
- Power the unit off.
- While the unit is turned off, press and hold the power button to change the session mode time.
- The LED light will blink two times (2) to indicate a hold time of 20 seconds, or four times (4) to indicate a hold time of 40 seconds.
How Do I Clean My Dr Dabber Boost Evo?
- Remove the quick connect adapter and the glass attachment from the base.
- Remove the glass attachment from the adapter and clean the adapter with a cotton swab dipped in isopropyl alcohol. Be sure to avoid the colored portion of the adapter and clean only the metal ring at the bottom and the threading.
- You can also remove the silicone ring out of the top of the adapter and run it under hot water to remove any excess residue, use a cotton swab for more stubborn residue.
- Pour out the water from the glass attachment and pour in some warm water, you can give the glass attachment a good shake after the warm water is placed inside to loosen up residue.
- For more stubborn residue, you can pour in some isopropyl alcohol and salt into the glass attachment, give it a shake, followed by a rinse with warm water. Allow the glass attachment to fully dry before reassembling.
- Remove the atomizer from the base, the atomizer is connected to the base by a magnetic connection. Simply pull the atomize up to remove.
- With a cotton swab soaked in isopropyl alcohol, clean the inside of the atomizer. You can use a cotton swab soaked in hot water to remove any access residue. Let dry before assembling.
You should clean out the inside portion of the atomizer with a cotton swab and iso alcohol after each session to avoid a large amount of build up.
How Do I Recalibrate My Dr Dabber Boost Evo for My New Atomizer?
When purchasing a new atomizer, your unit must be recalibrated with the new atomizer to get the most accurate temperature readings.
- Turn the Dr Dabber Boost Evo off and be sure not to charge it within 15 minutes prior to recalibrating.
- While the unit is off, press the power button four times (4) and hold the power button on the fourth press to recalibrate the unit.
- A successful recalibration is indicated by the LED lights blinking white, if the lights are blinking red that means the calibration was unsuccessful.
If you are experiencing any issues with this device or have any additional questions, please send an email to info@e-nail.com, stating the specific problem. Please include a picture or video showing the fault and also include your order number.


