Enail Coil Pin Setup FAQ
Enail Coils: The Ultimate Guide to Electric Heater Coil for Dabbing
There's a whole lot to unpack with this one, but let's keep it simple at first and start with the basics.
What is an Enail Coil?
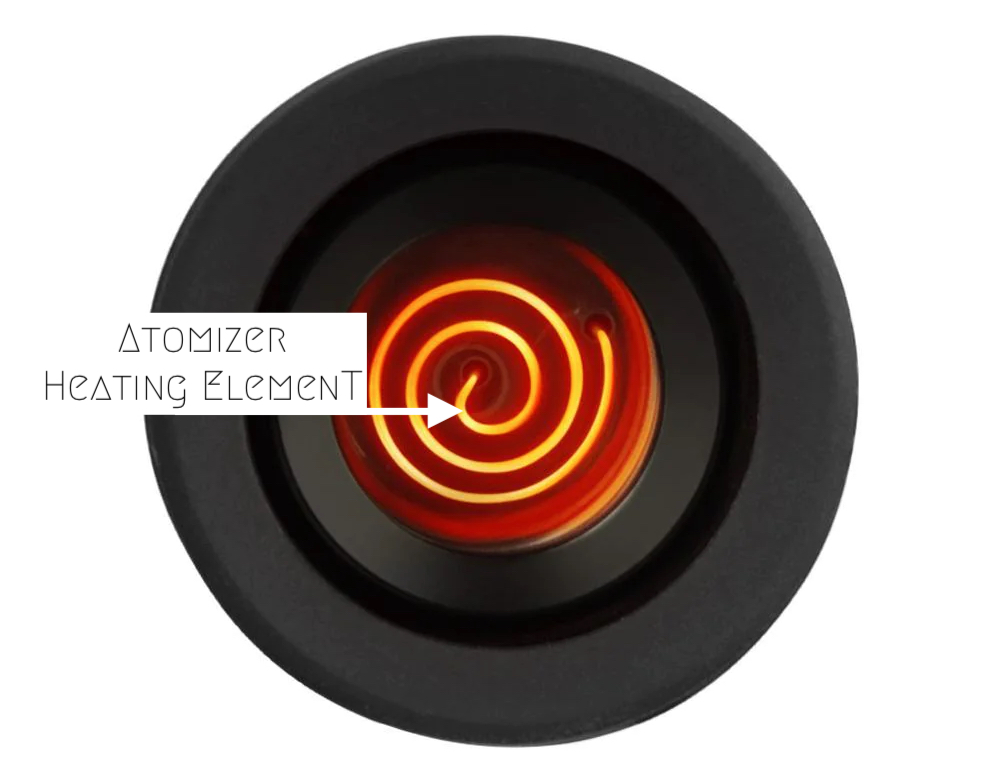
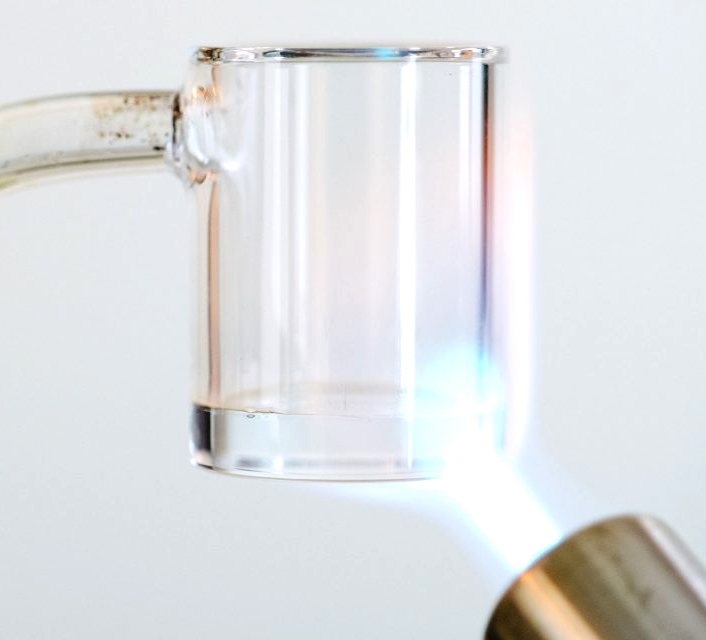
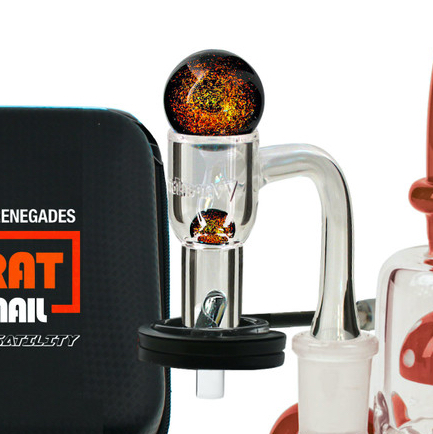
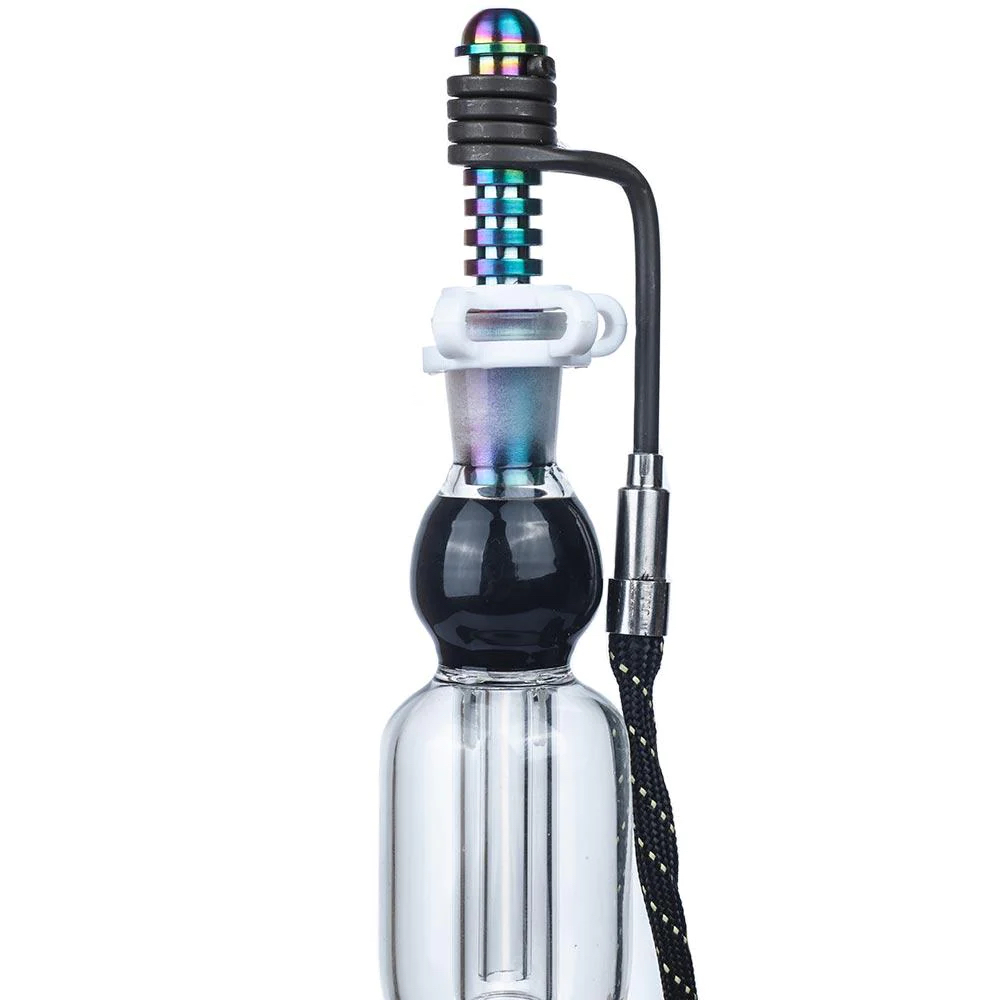
An enail coil is a heating element that is used in combination with a quartz banger/dab nail and an electric controller box. If you are used to dabbing with an electric dab rig, think of the enail coil as the little piece of metal wiring inside of an atomizer that heats your bucket/insert to temperature. If you like to kick it old school with a traditional dab set up using a quartz banger and a torch, think of an enail coil as the “torch” in your set up.
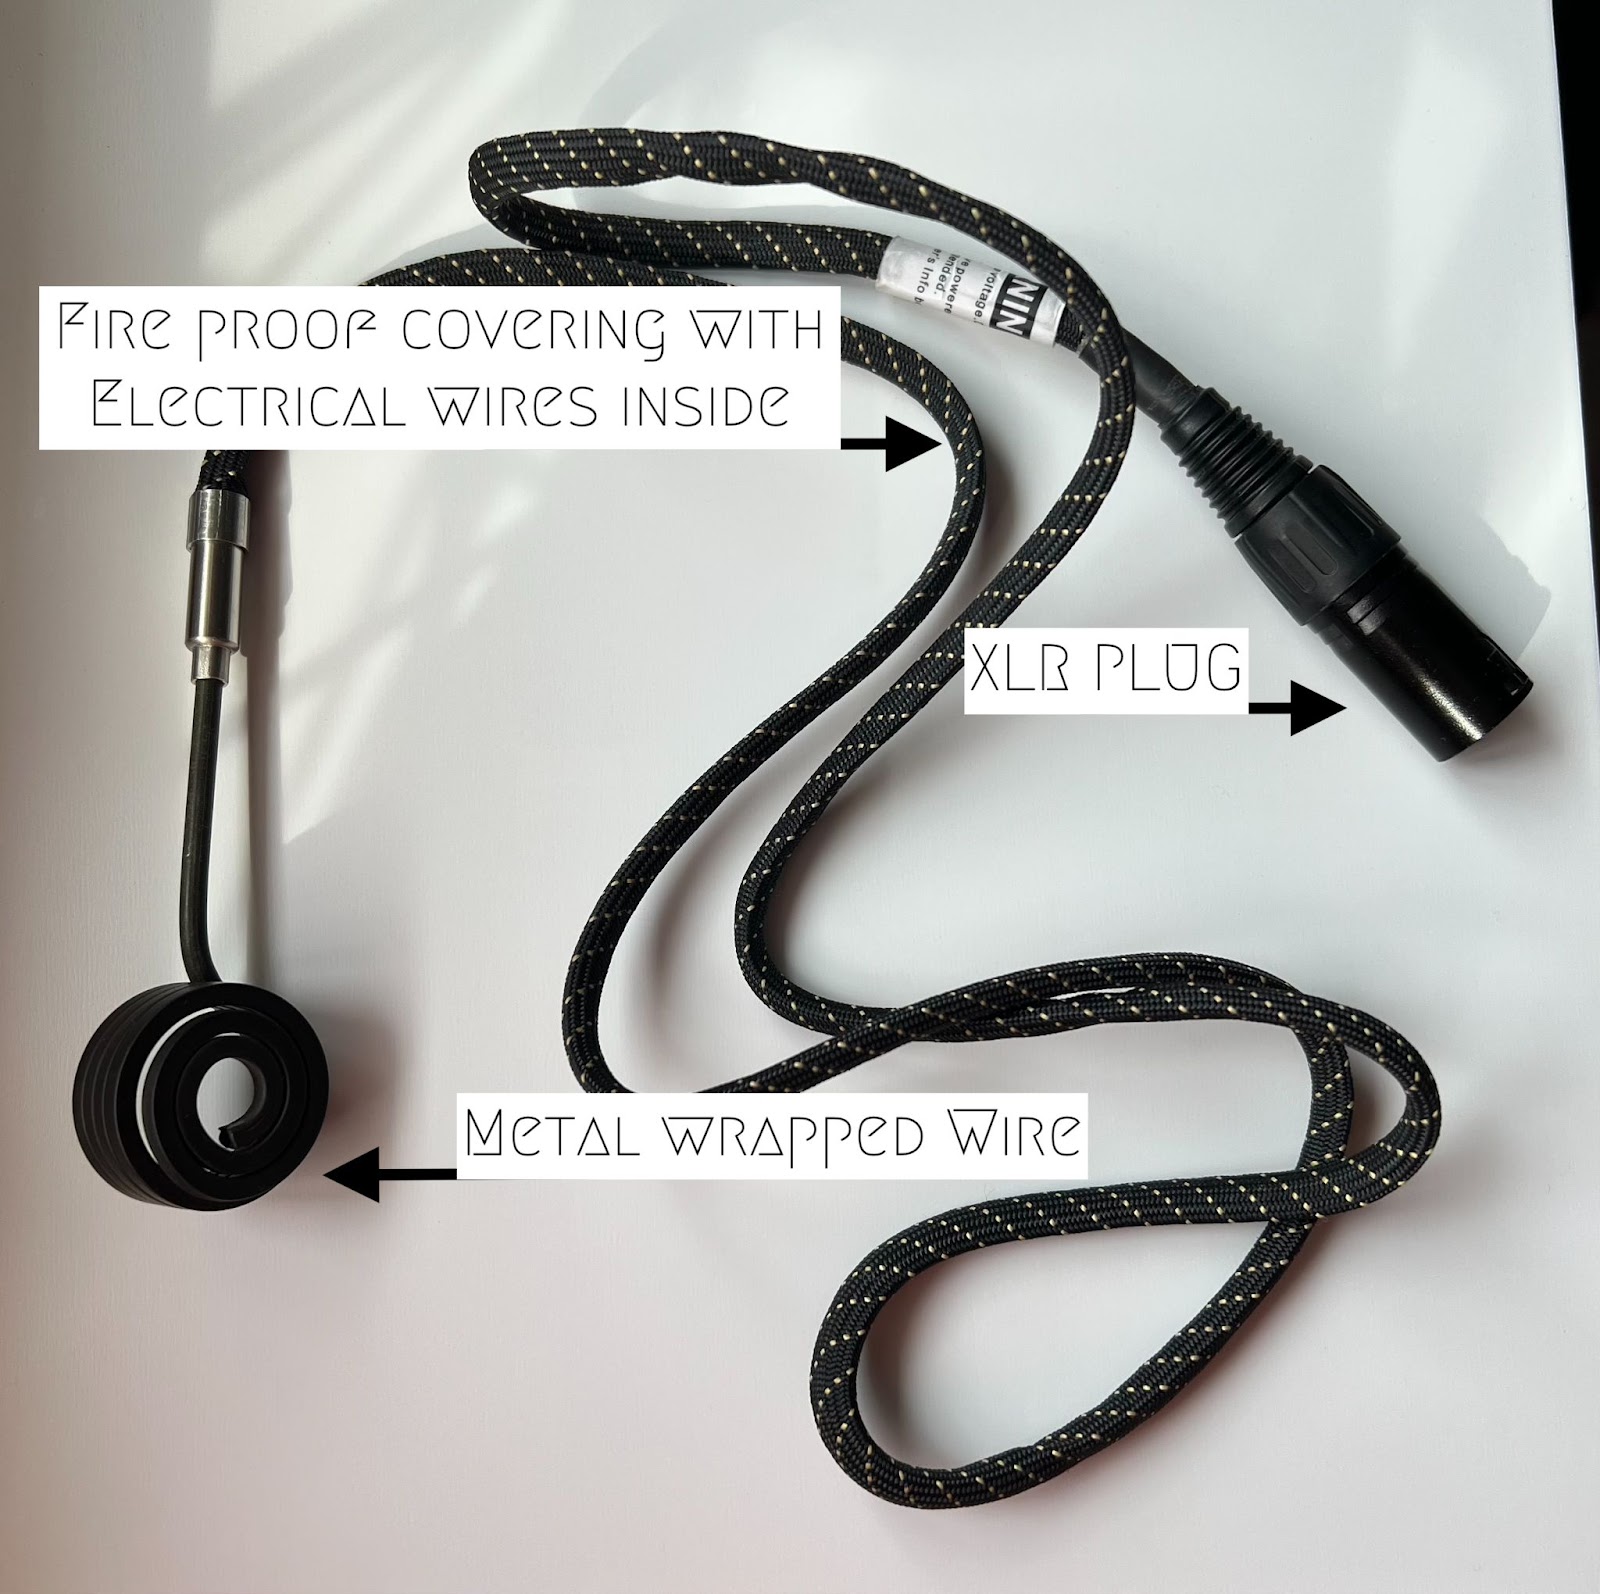
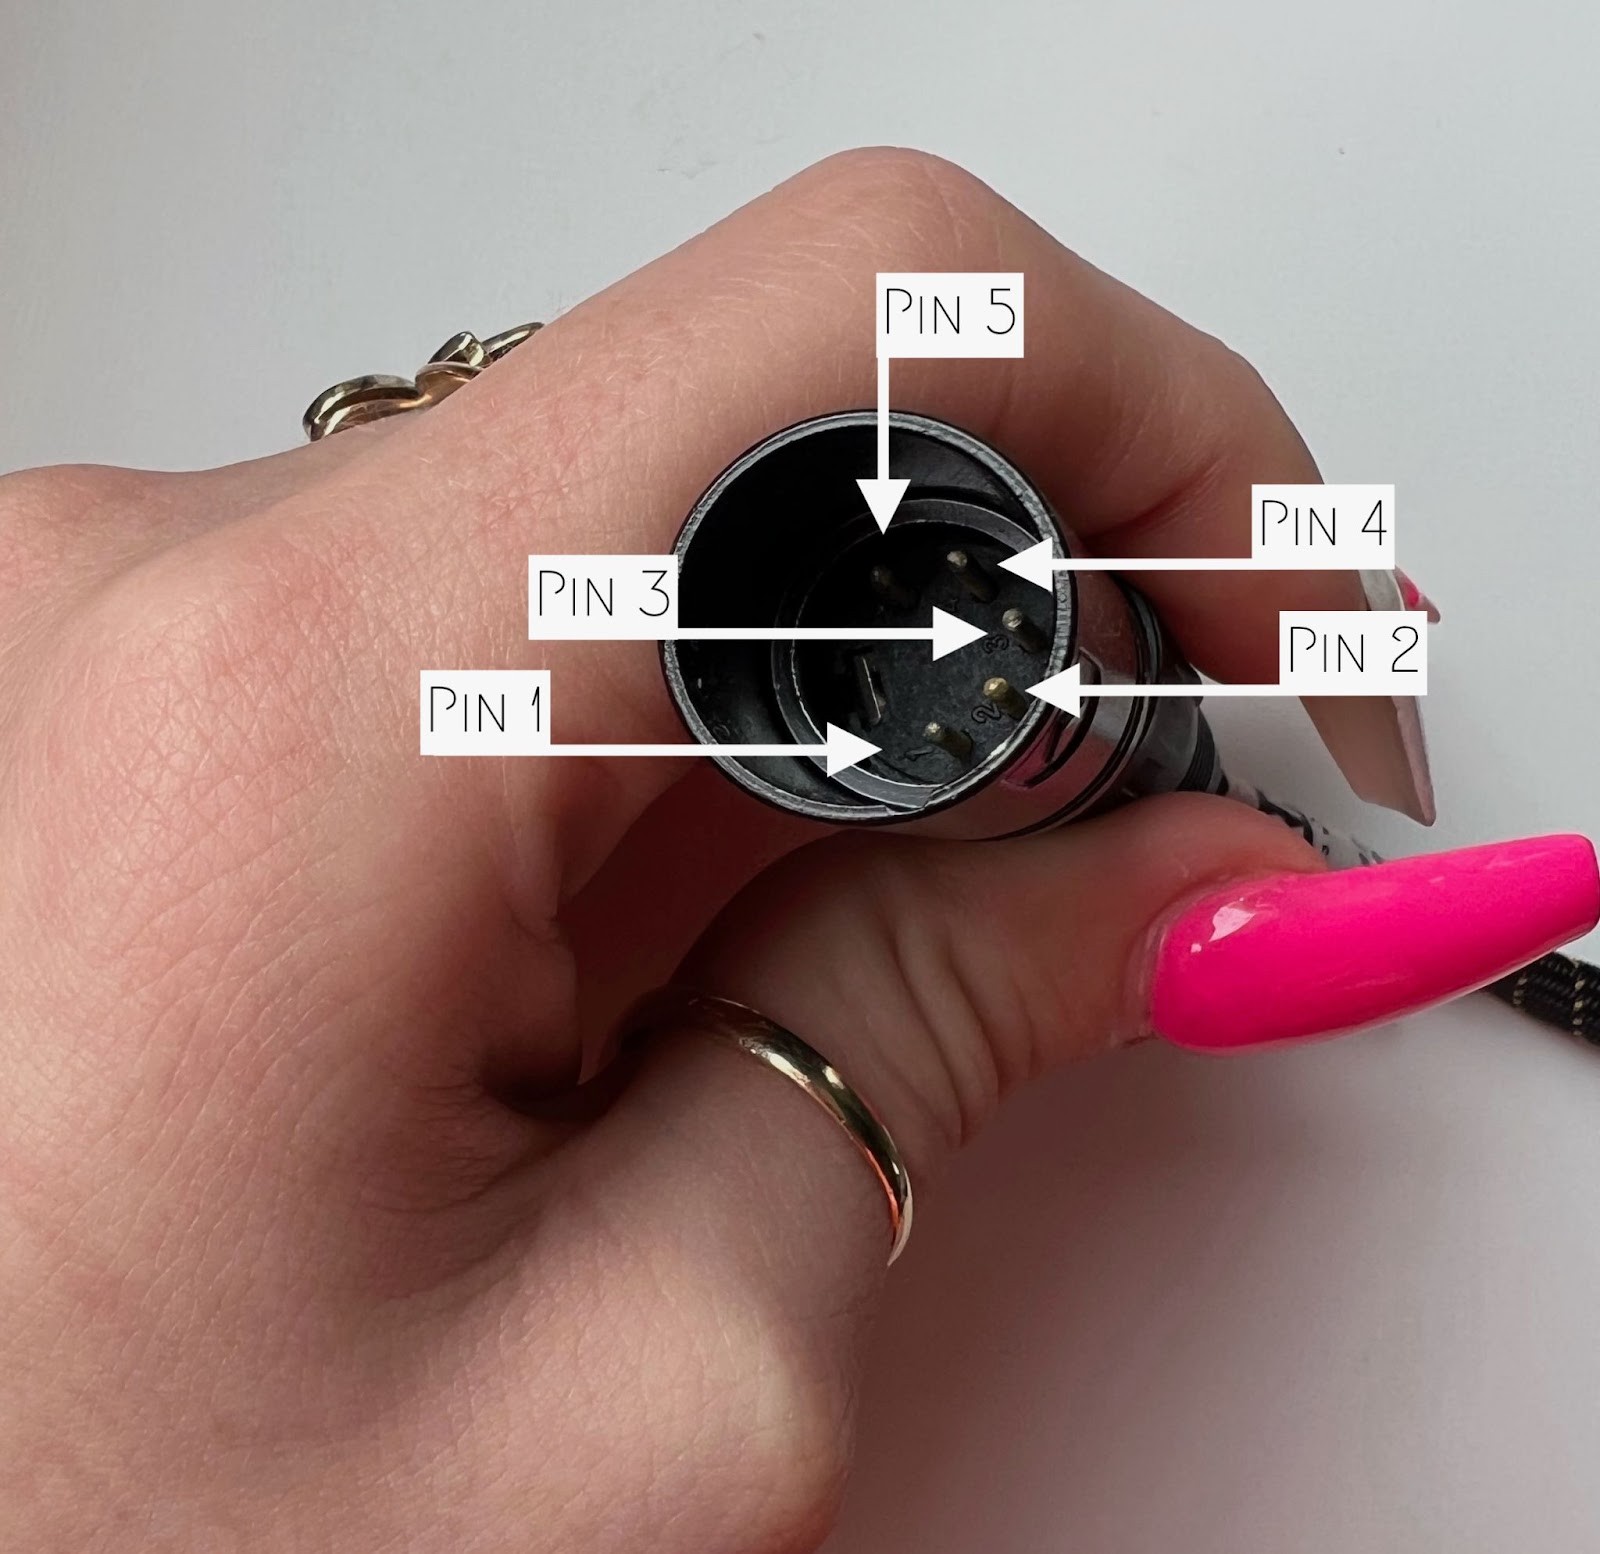
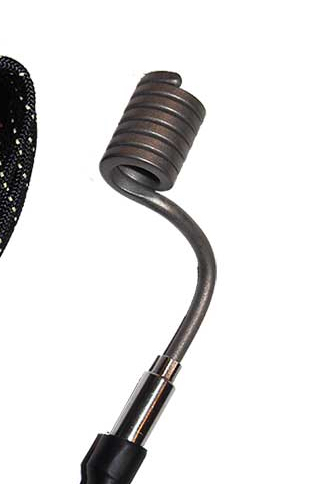
Enail coils are made up of four parts, a heavy duty metal wrapped wire, a fireproof sheath protecting the internal wires, and an xlr plug at the end of it to connect to an enail controller box. Most standard enail coils have an xlr plug containing five separate pins labeled 1 through 5.
Enail Coil Sizes? Enail Coil Styles? What's the Difference and Why Do They Matter?
There are tons of different enail coil sizes and styles to choose from, the purpose of an enail coil is to properly heat whatever it is attached to.
When looking for an enail coil replacement you would want to make sure the coil you're about to purchase is going to fit your quartz banger/dab nail or whatever dabbing accessory you are planning to use with it.
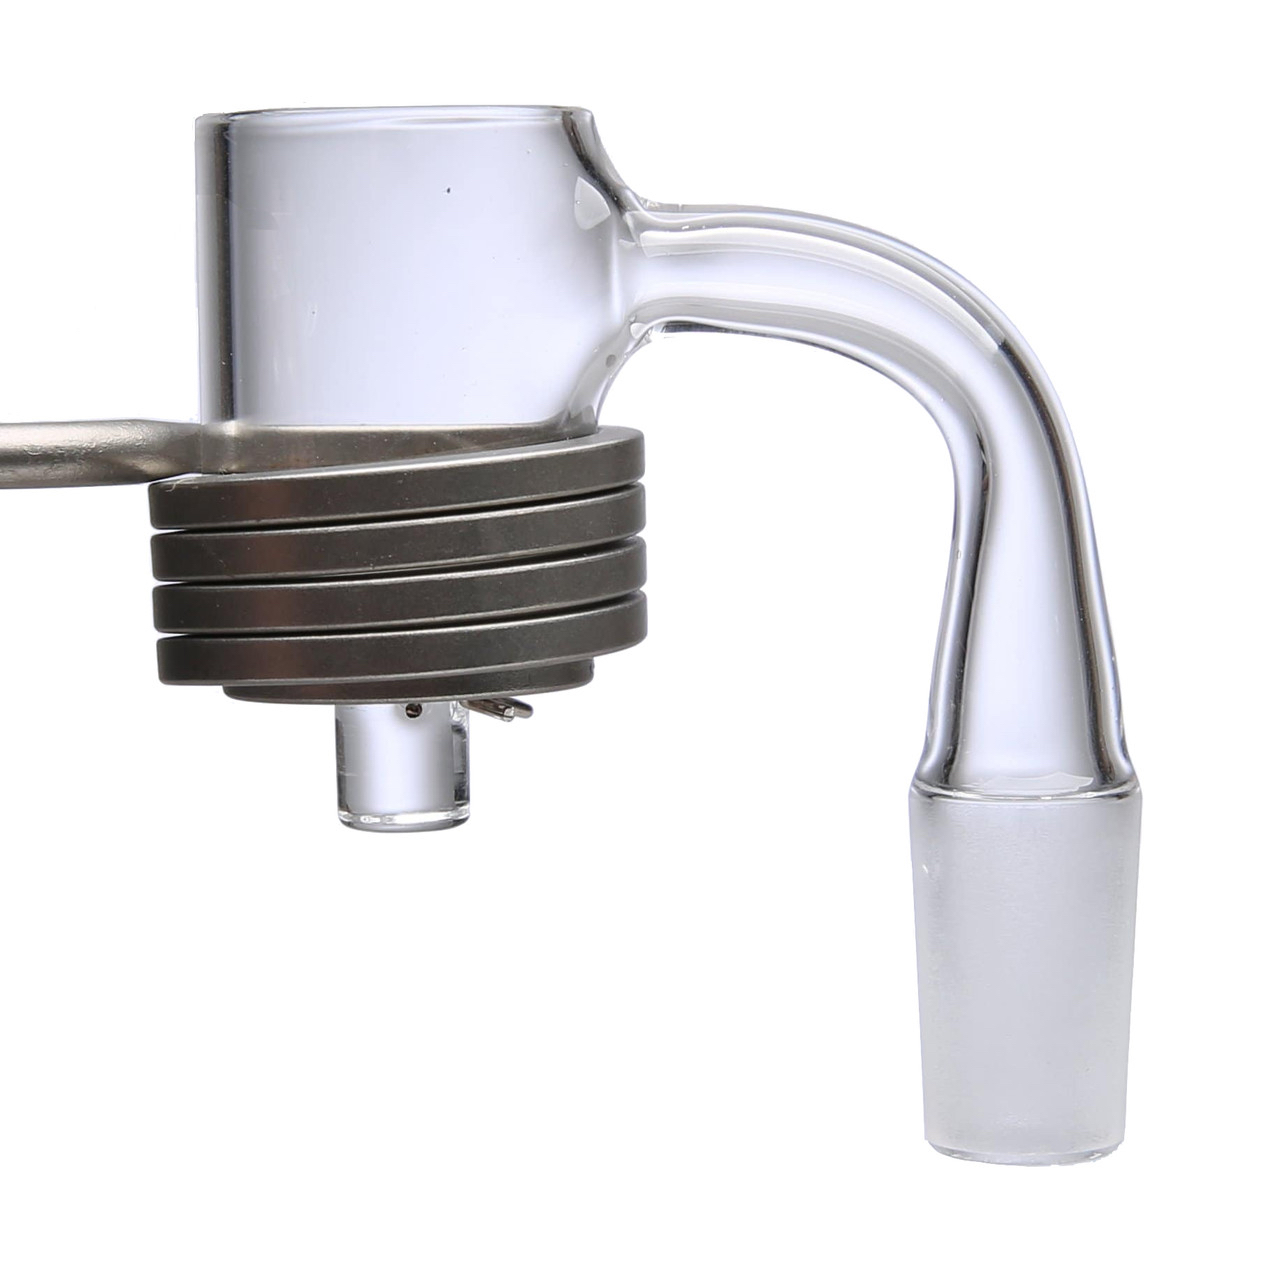
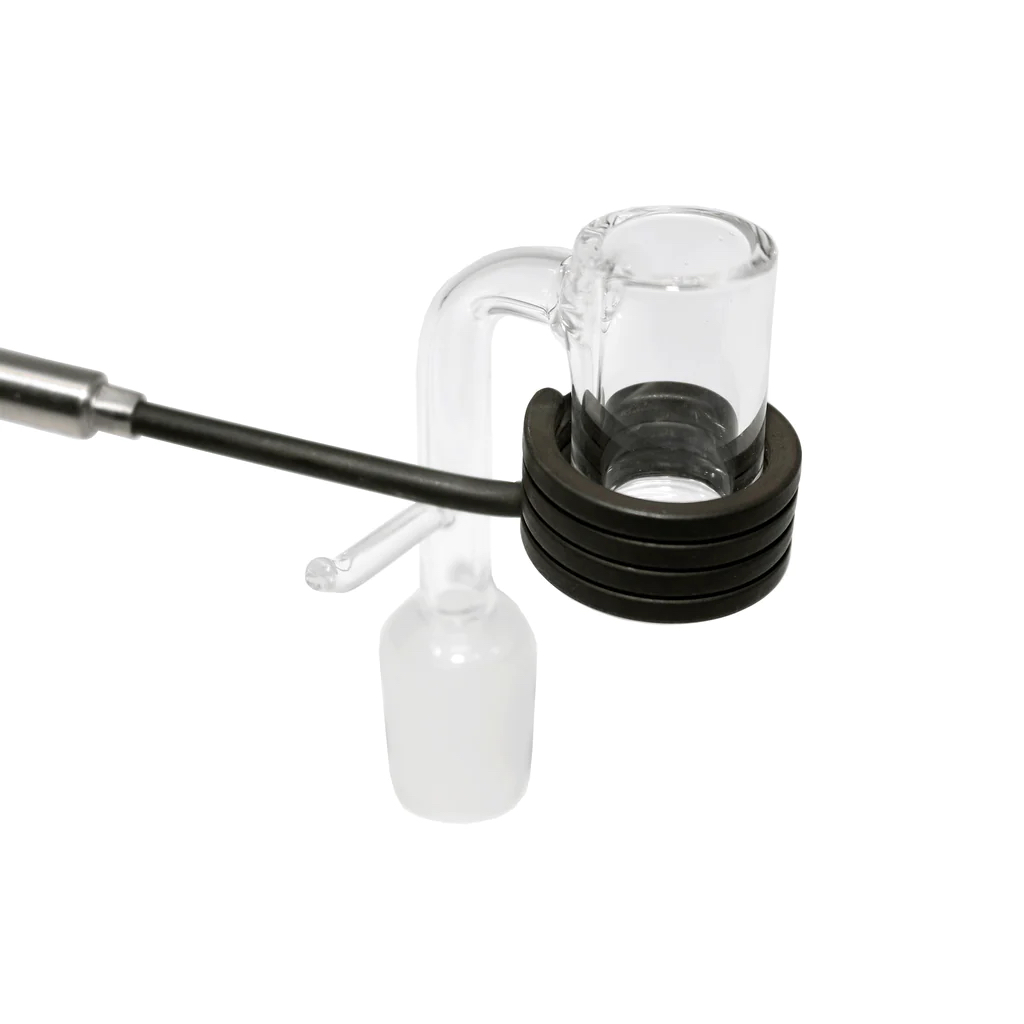
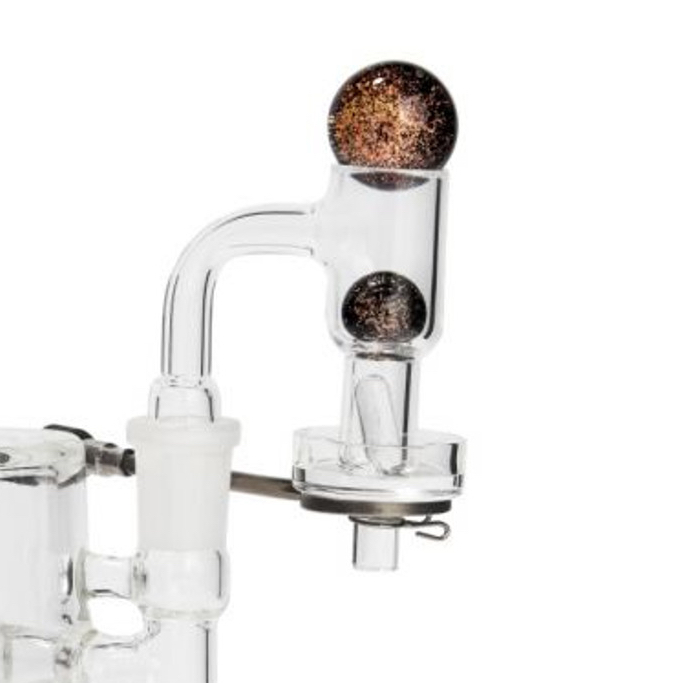
- Axial Enail Coil - This type of enail coil almost resembles a bucket with the wire wrapping the bottom and some of the side walls of a quartz banger. Axial Enail Coils are meant for quartz bangers that have a flat bottom followed by a stem to secure the enail coil to.
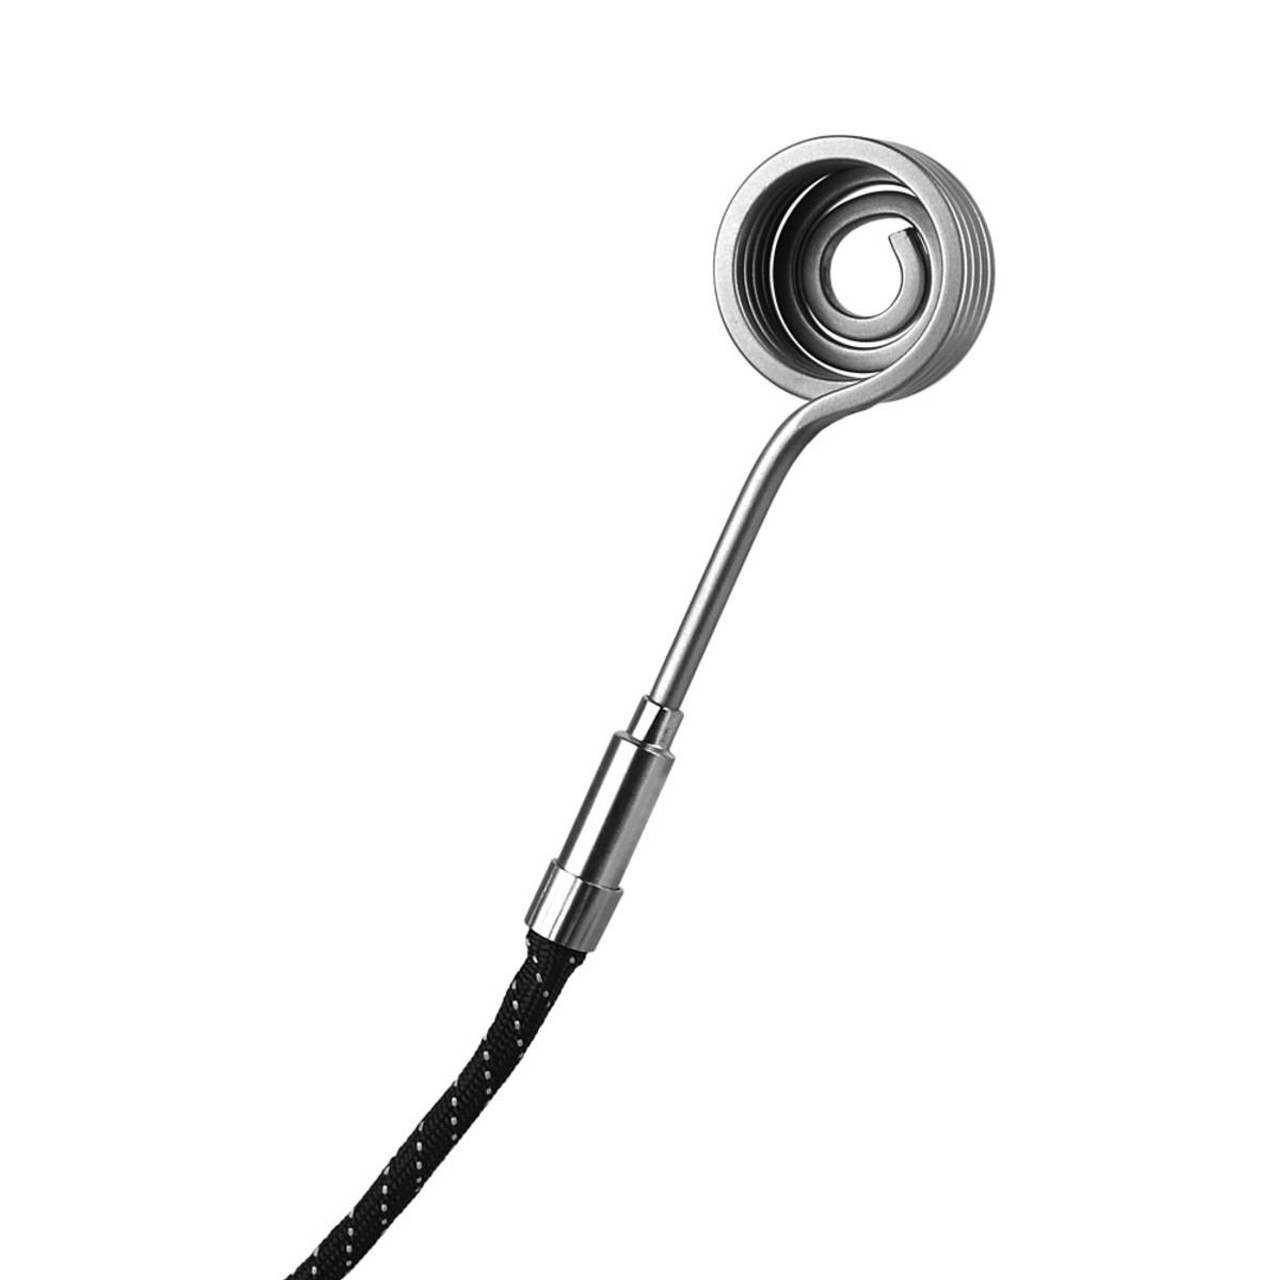
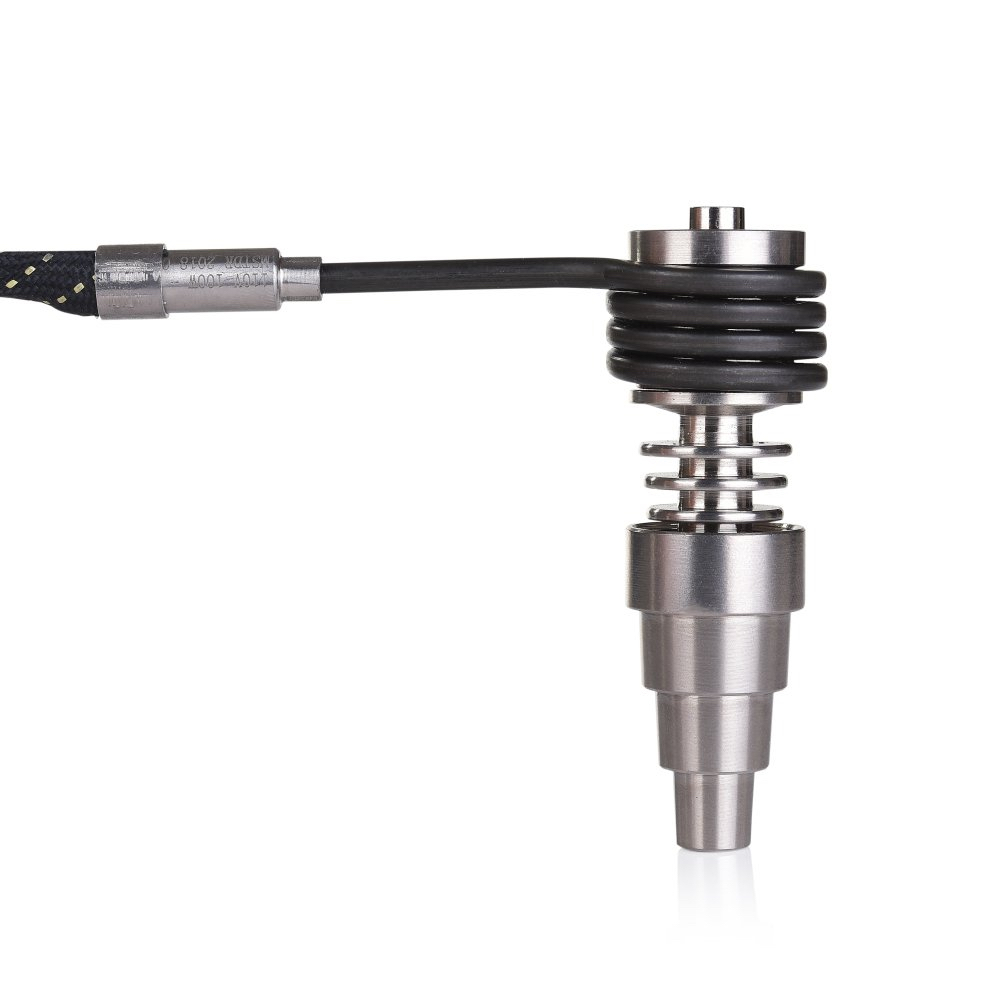
- Barrel Enail Coil - This type of enail coil looks like a perfect circle when looked at from above. Barrel Enail Coils look similar to axial enail coils however, they do not have the wire wrapped at the bottom to look like a bucket. The bottom and the top of this coil is completely opened to accommodate titanium nails and quartz bangers that have an enail coil holder added/arm built into the side of its neck to secure the enail coil to.
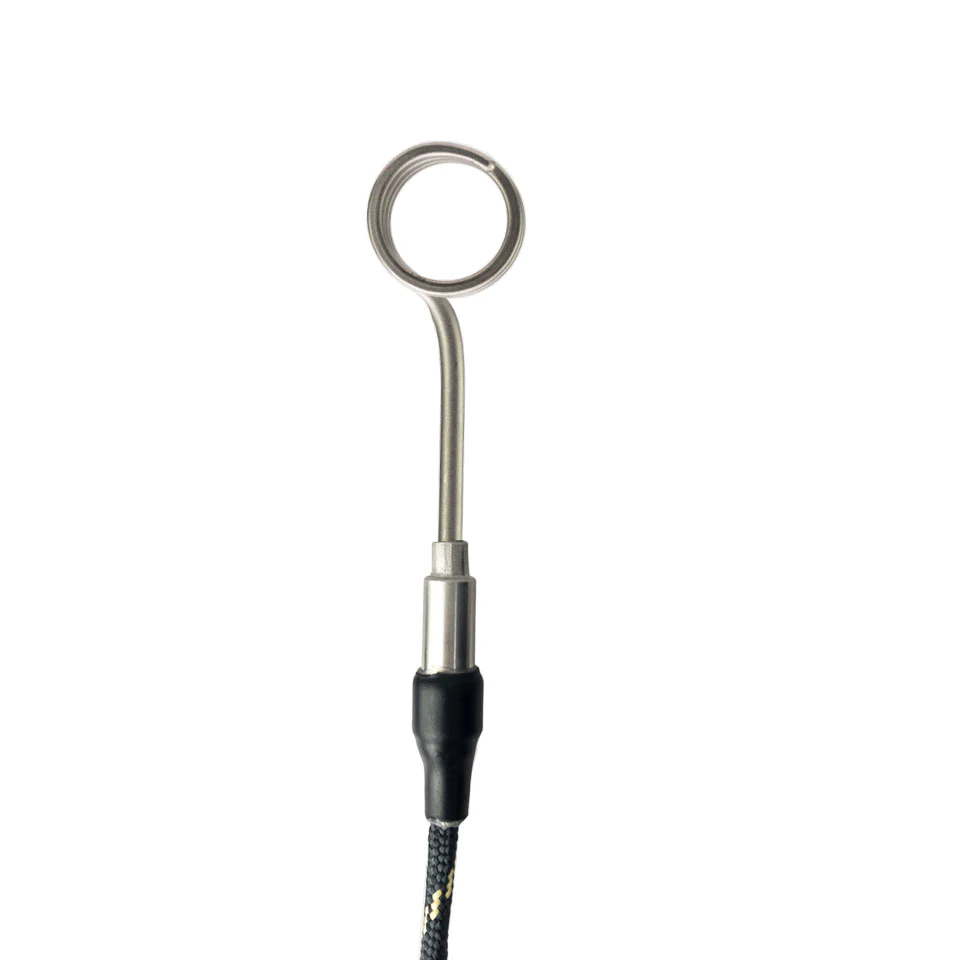
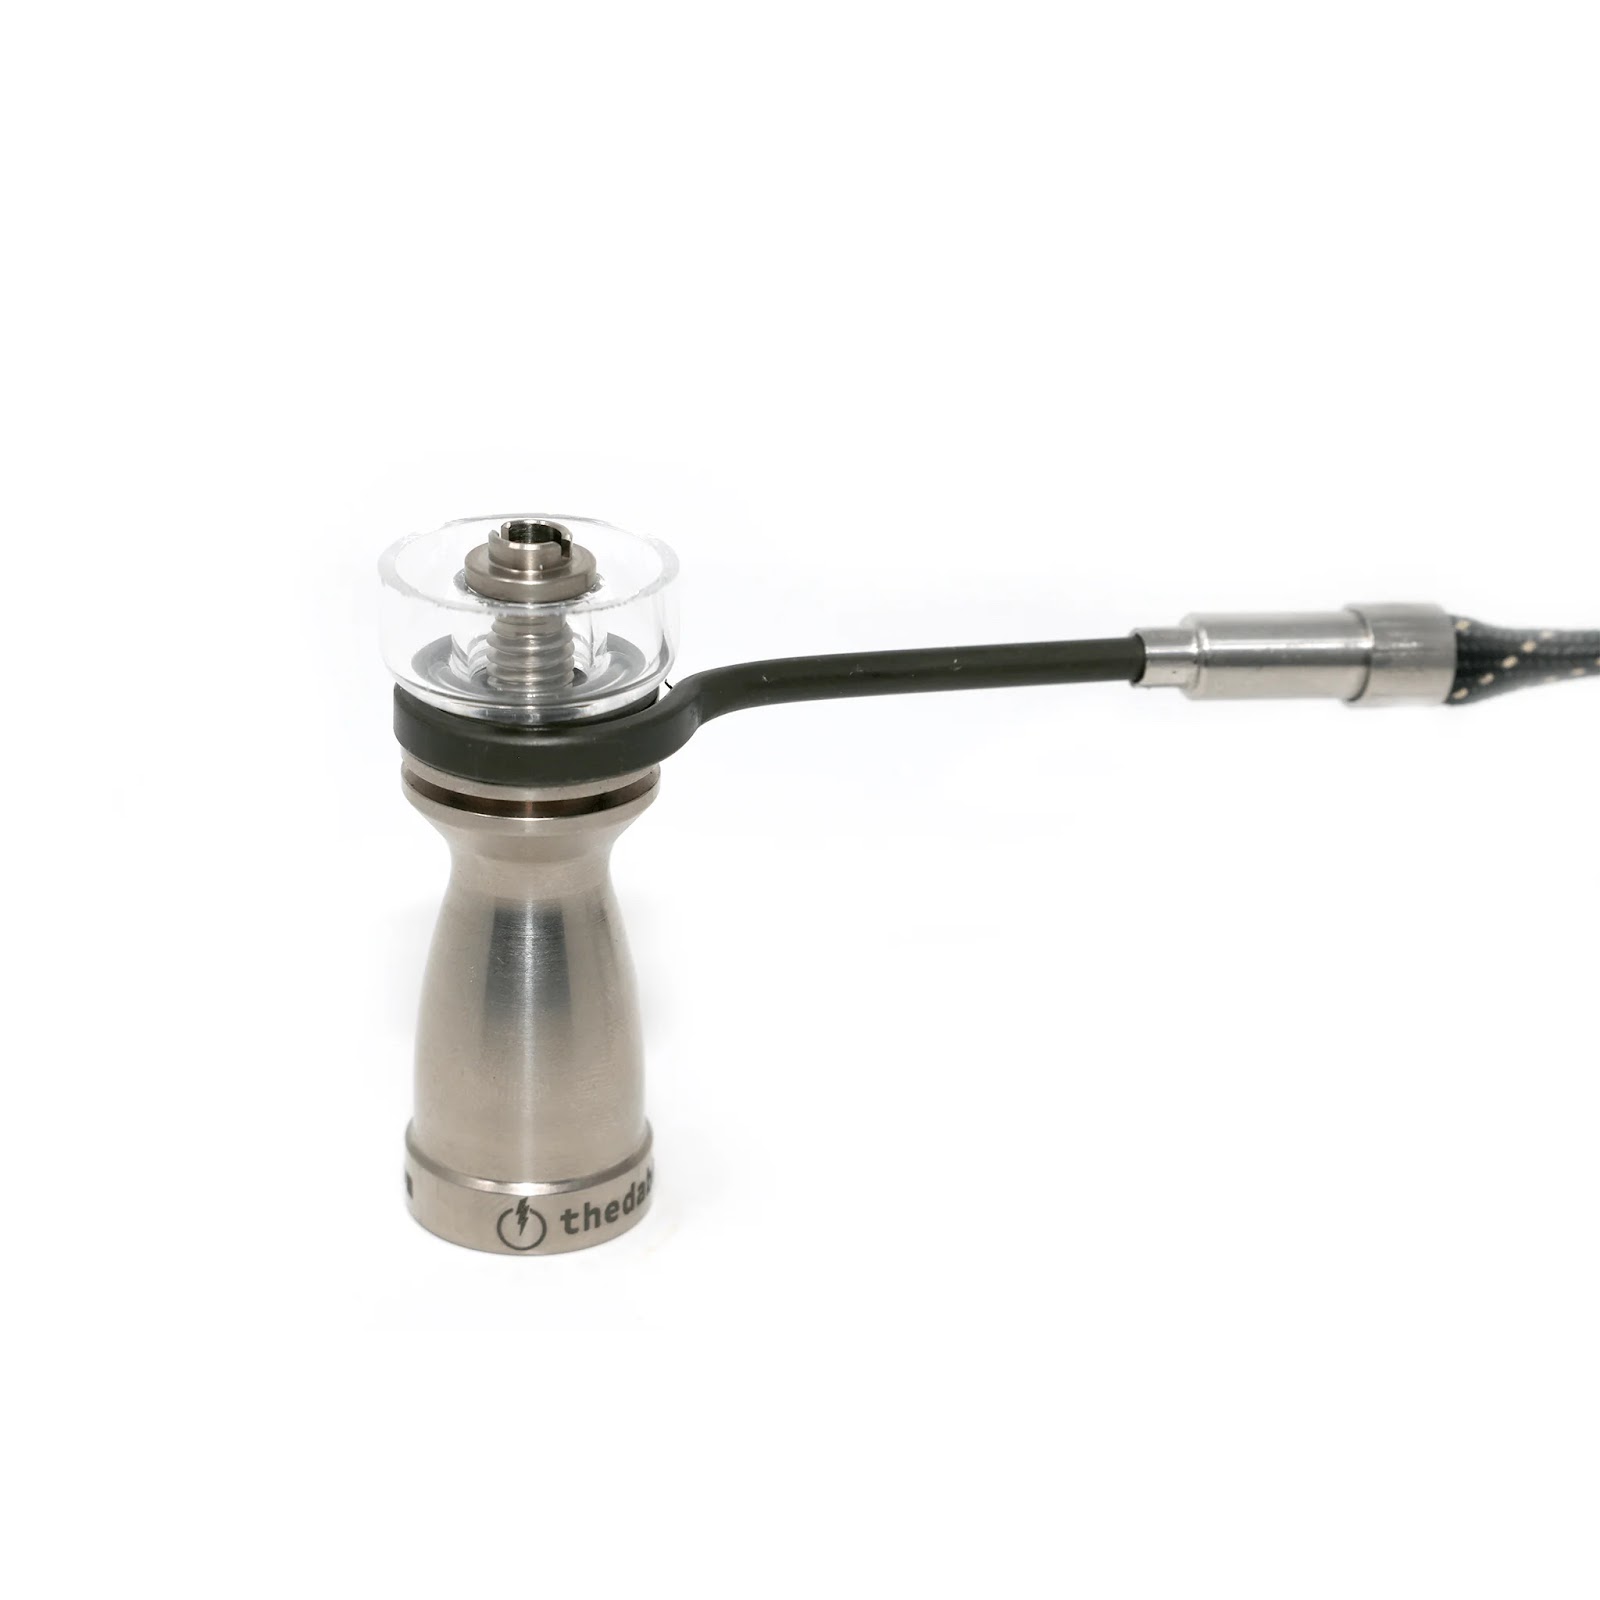
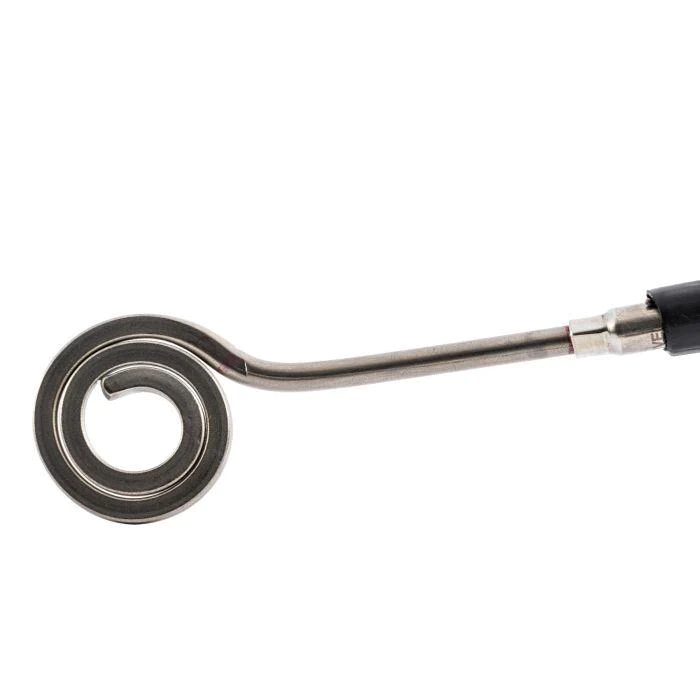
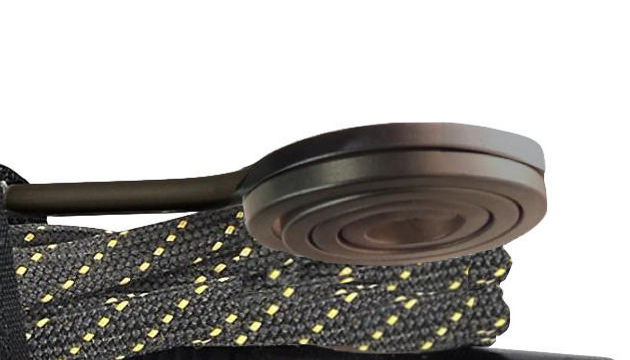
- Flat Enail Coil - This type of enail coil looks exactly how it sounds, it's completely flat. The wire is wrapped in a circular form but it does not extend upwards like the axial enail coil or the barrel enail coil. Its flat design is ideal for titanium or hybrid nails that have a shorter dish at the top.
- Terp Slurper Enail Coil - This type of enail coil looks similar to an Axial Enail Coil however it does not have as many wire wraps to scale upward the banger walls. This enail coil is ideal for Terp Slurper Enail Bangers because the wire does not hang above the bottom dish. Instead it wraps around the dish perfectly so that there is less chance of your dab touching the hot wire before making it onto the terp dish, minimizing waste. Axial Enail Coils typically have 6 wraps while Terp Slurper Enail Coils will have 3-4 wraps.
- Hybrid Enail Coil - This type of enail coil is a cross between an Axial Enail Coil and a Flat Enail Coil, it is distinguishable by the amount of wire wraps scaling upwards. The Terp Slurper Enail Coil is a type of Hybrid Enail Coil but this is just one of many, instead of 3-4 wraps you might find a Hybrid Enail Coil with just 2 wraps to fit and heat its designated dabbing accessory correctly.

- Nectar Collector Enail Coil - This type of enail coil closely resembles a barrel enail coil but with a smaller diameter so that it can be attached to a nectar collector nail. This style of coil is meant to be used with nectar collector nails ONLY, they are not compatible with any other banger/nail. Nectar Collector Enail Coils are secured safely onto certain styles of nectar collector nails, some people will use an o-clamp to secure this coil in place but it is not recommended.
Where Can I Buy an Enail Coil Replacement?
Let's set the record straight, just because they look the same does not mean all enail coils are cross compatible with all enail controller boxes that have a 5 pin coil connection.
When the pin set up on both the controller and the coil are not compatible, your display screen will most likely read an error code (EEEE). The reason why pin setup is so important is because each one of the pins signal a specific function. One pin may control power while another may control temperature. When a pin that is designated for a particular feature is plugged into the wrong slot on your controller box, your enail coil will not function as intended.
Now you might find yourself asking, “Well how do I know which coil is compatible with my enail?”
Most enail brands will manufacture all their enail coils with the same pin setup, so if you know what brand your controller box is, you're in luck! A simple search might bring you the results you need.
But for the small group of us that have no idea which brand we purchased years ago let alone what we ate for dinner yesterday, here's a quick way to figure out your pin setup so that you'll never be sol on finding an enail coil replacement! No matter what brand of enail you own!
Disclaimer: Please be very careful when completing the steps below, especially if your enail coil is still in working condition and you plan to continue using it. When removing pieces from your enail coil plug be sure that you are not careless and rough, if any wires are disconnected during this process it will cause your enail coil to stop working completely.
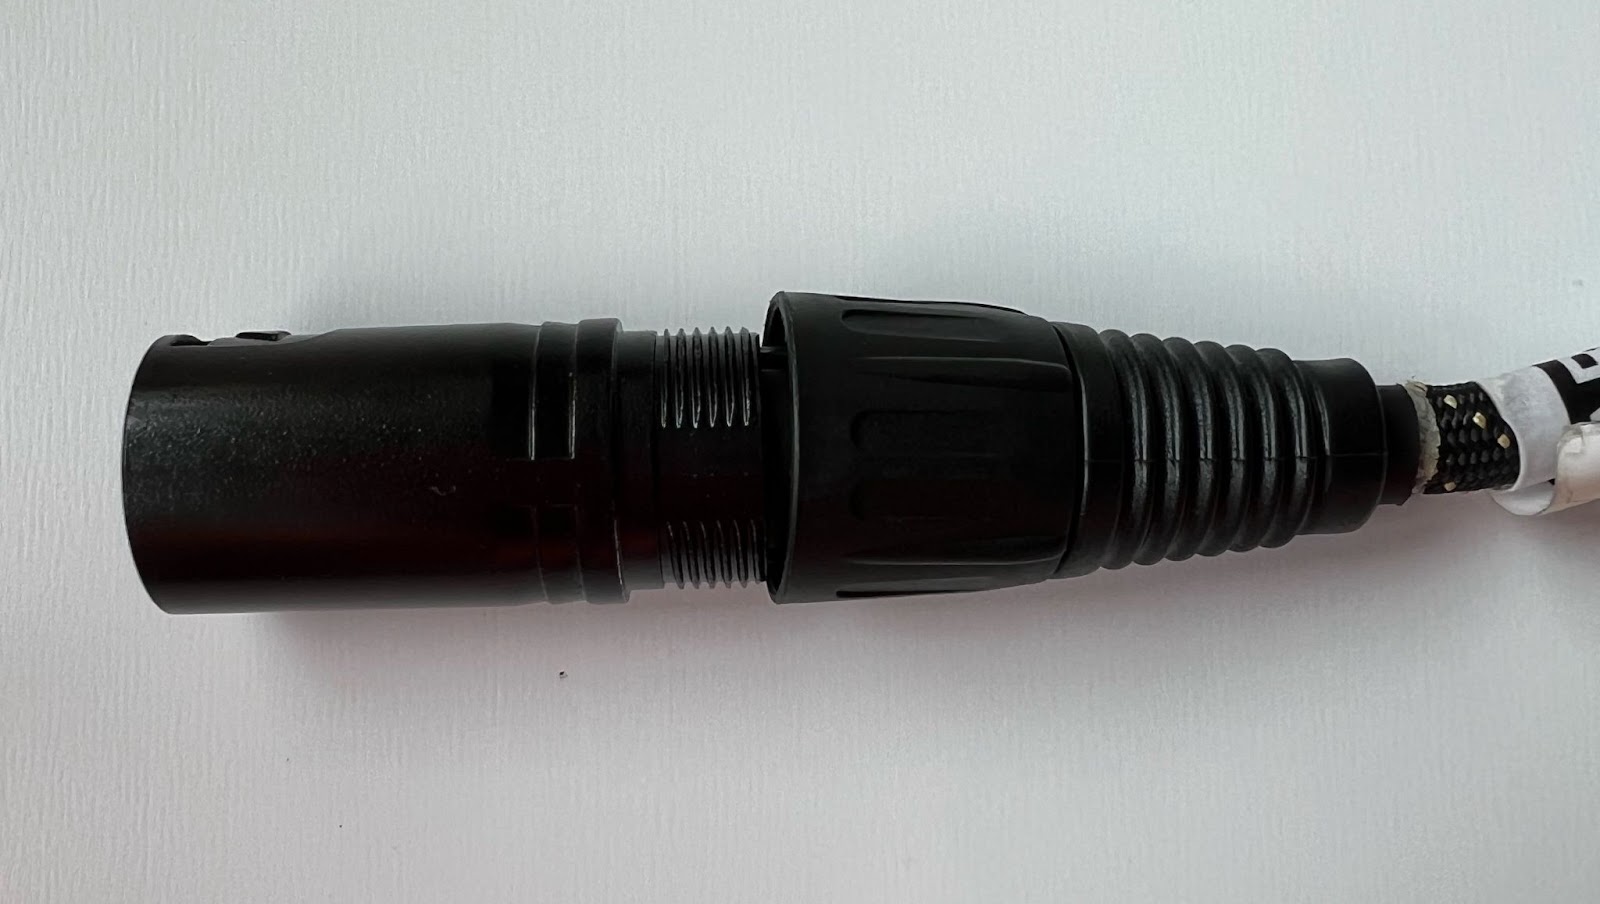
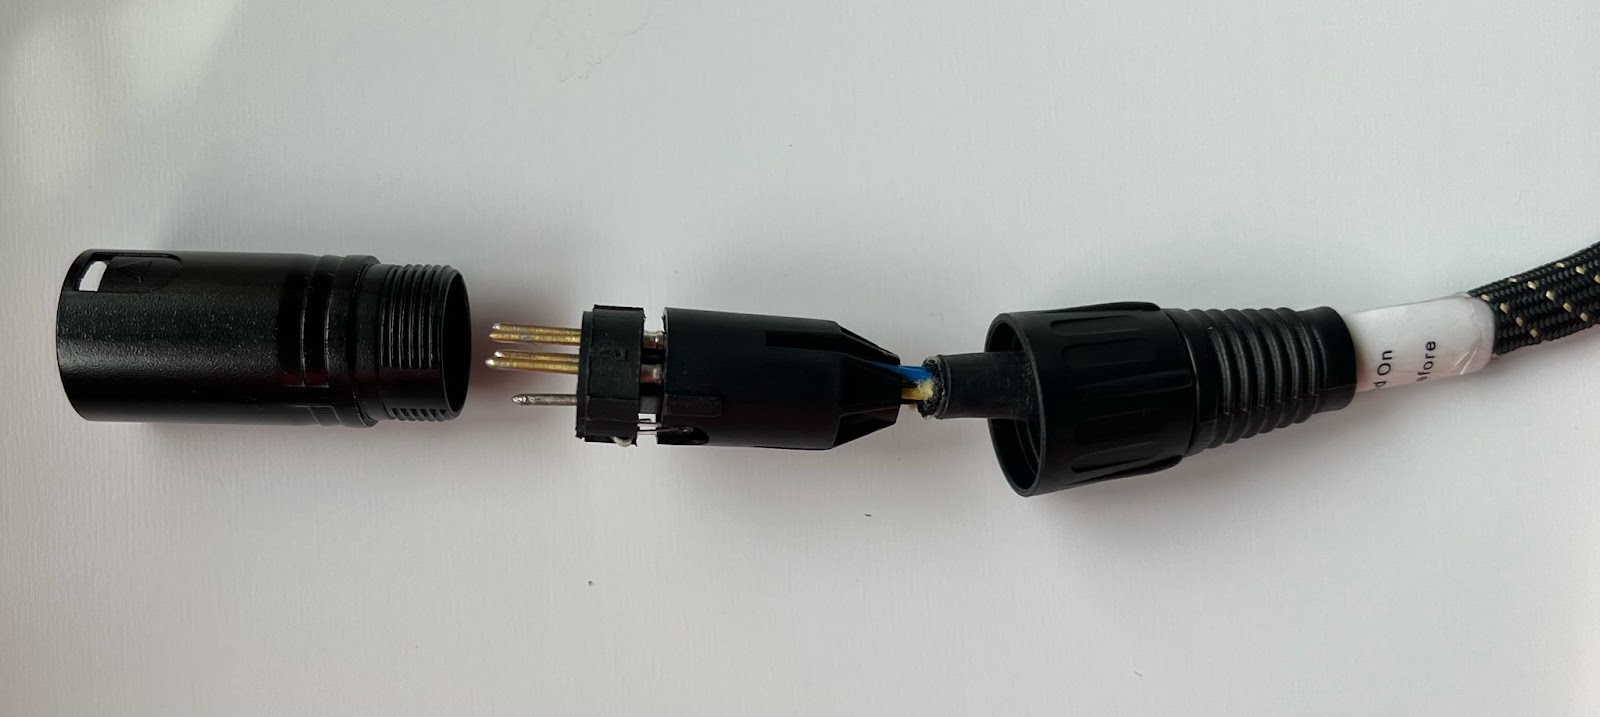
Step 1: Disconnect your enail coil from your enail controller box.
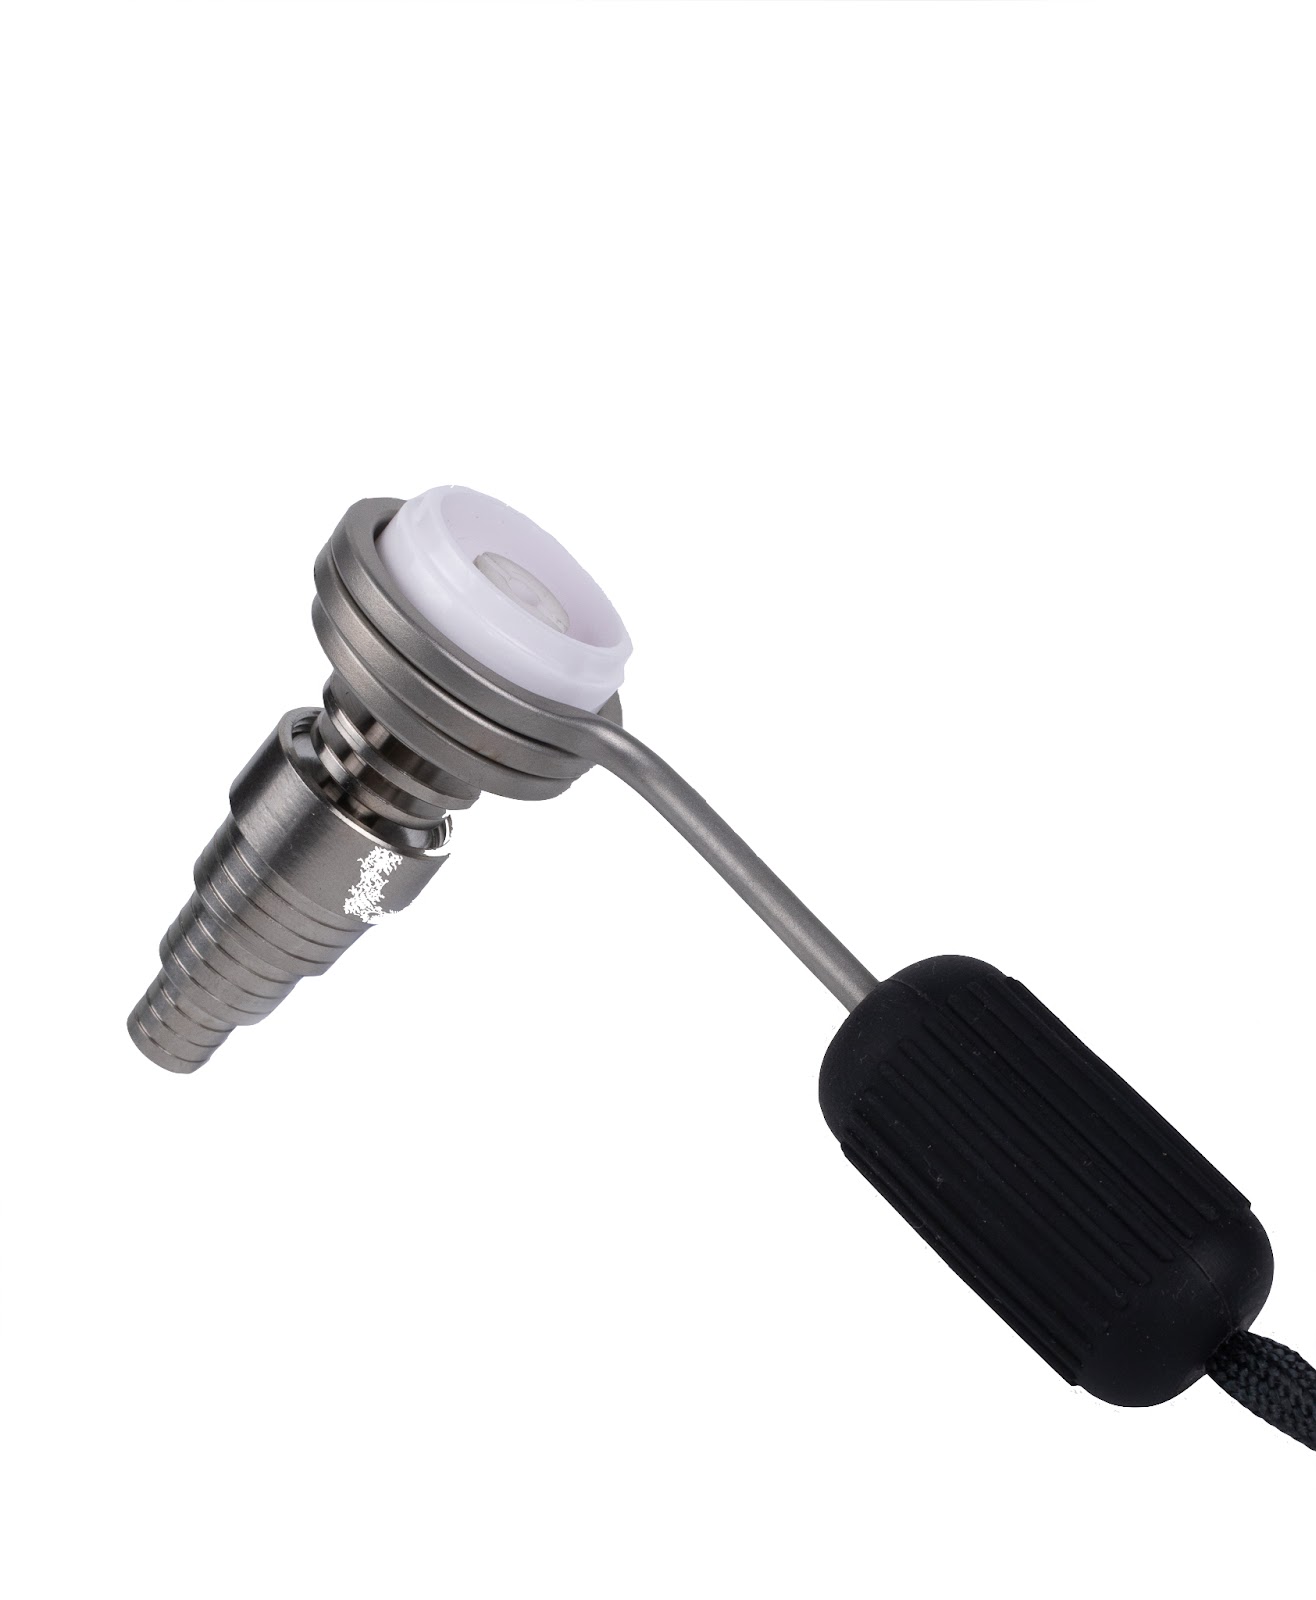
Step 2: Grab the metal portion of the xlr plug and place your other hand over the plastic/rubber housing right above it. Rotate the plastic housing counter clockwise to unscrew it from the metal portion of the plug.
Step 3: Gently pull the unscrewed plastic housing up along with the fireproof covering to reveal the wires on the inside of the enail coil.
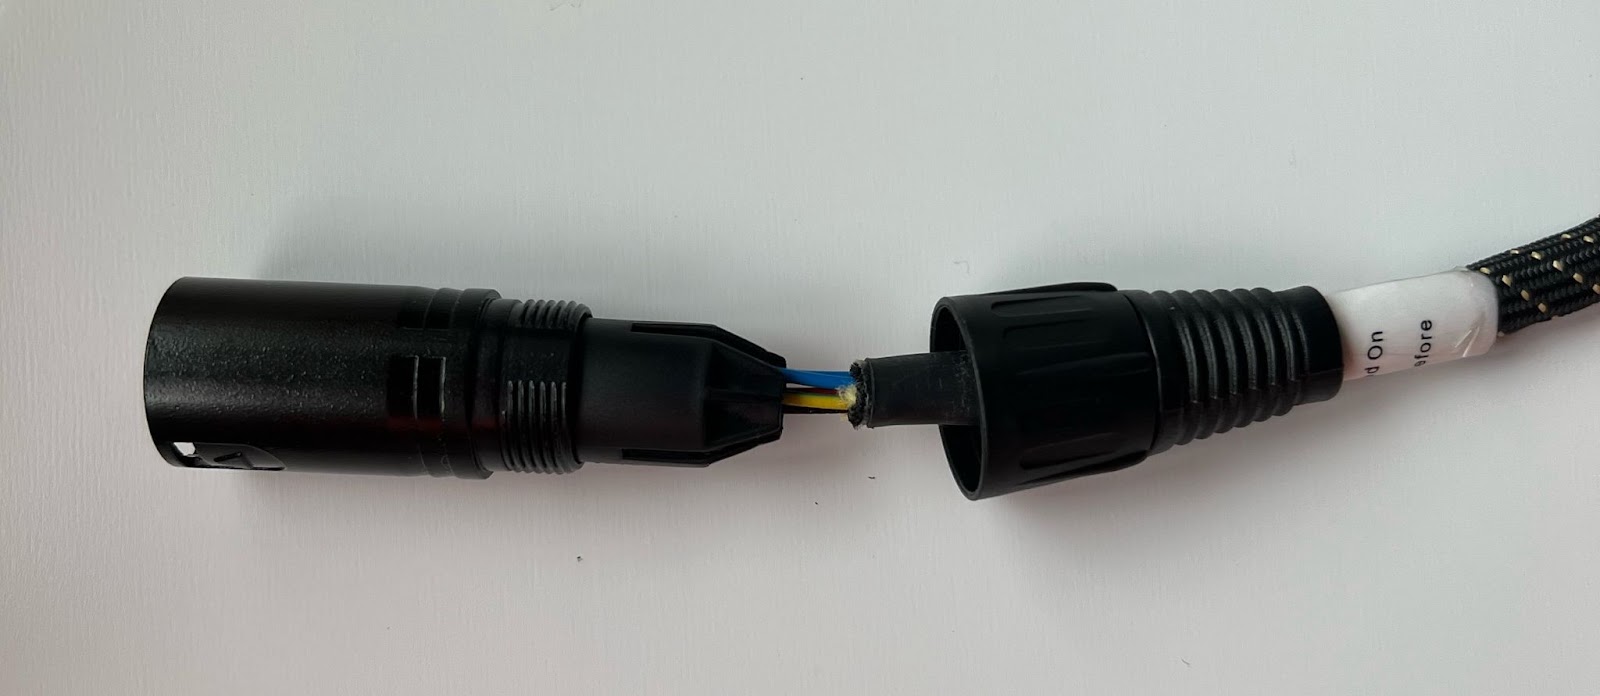
Step 4: Carefully separate the metal portion of the xlr plug from the part of the plug containing the soldered pins and wires.
Step 5: You might see a piece of plastic covering the soldered wires and pins. Remove the plastic covering away from the soldered wires.
- The plastic covering may sometimes be glued onto the wires. You can do your best to remove it without damaging or disconnecting any wires. If the plastic covering cannot be removed, try to open it up as much as you can or maneuver it around so that you can see where each wire connects with each pin. That is the main goal here.
Step 6: Once both plastic and metal pieces are removed you should be able to see each wire connected to each individual pin.

Step 7: Each of the wires should vary in thickness and color, look through the wires to find two wires that appear thinner than the rest, in most cases these two wires are either red or black. These are your TC’s.
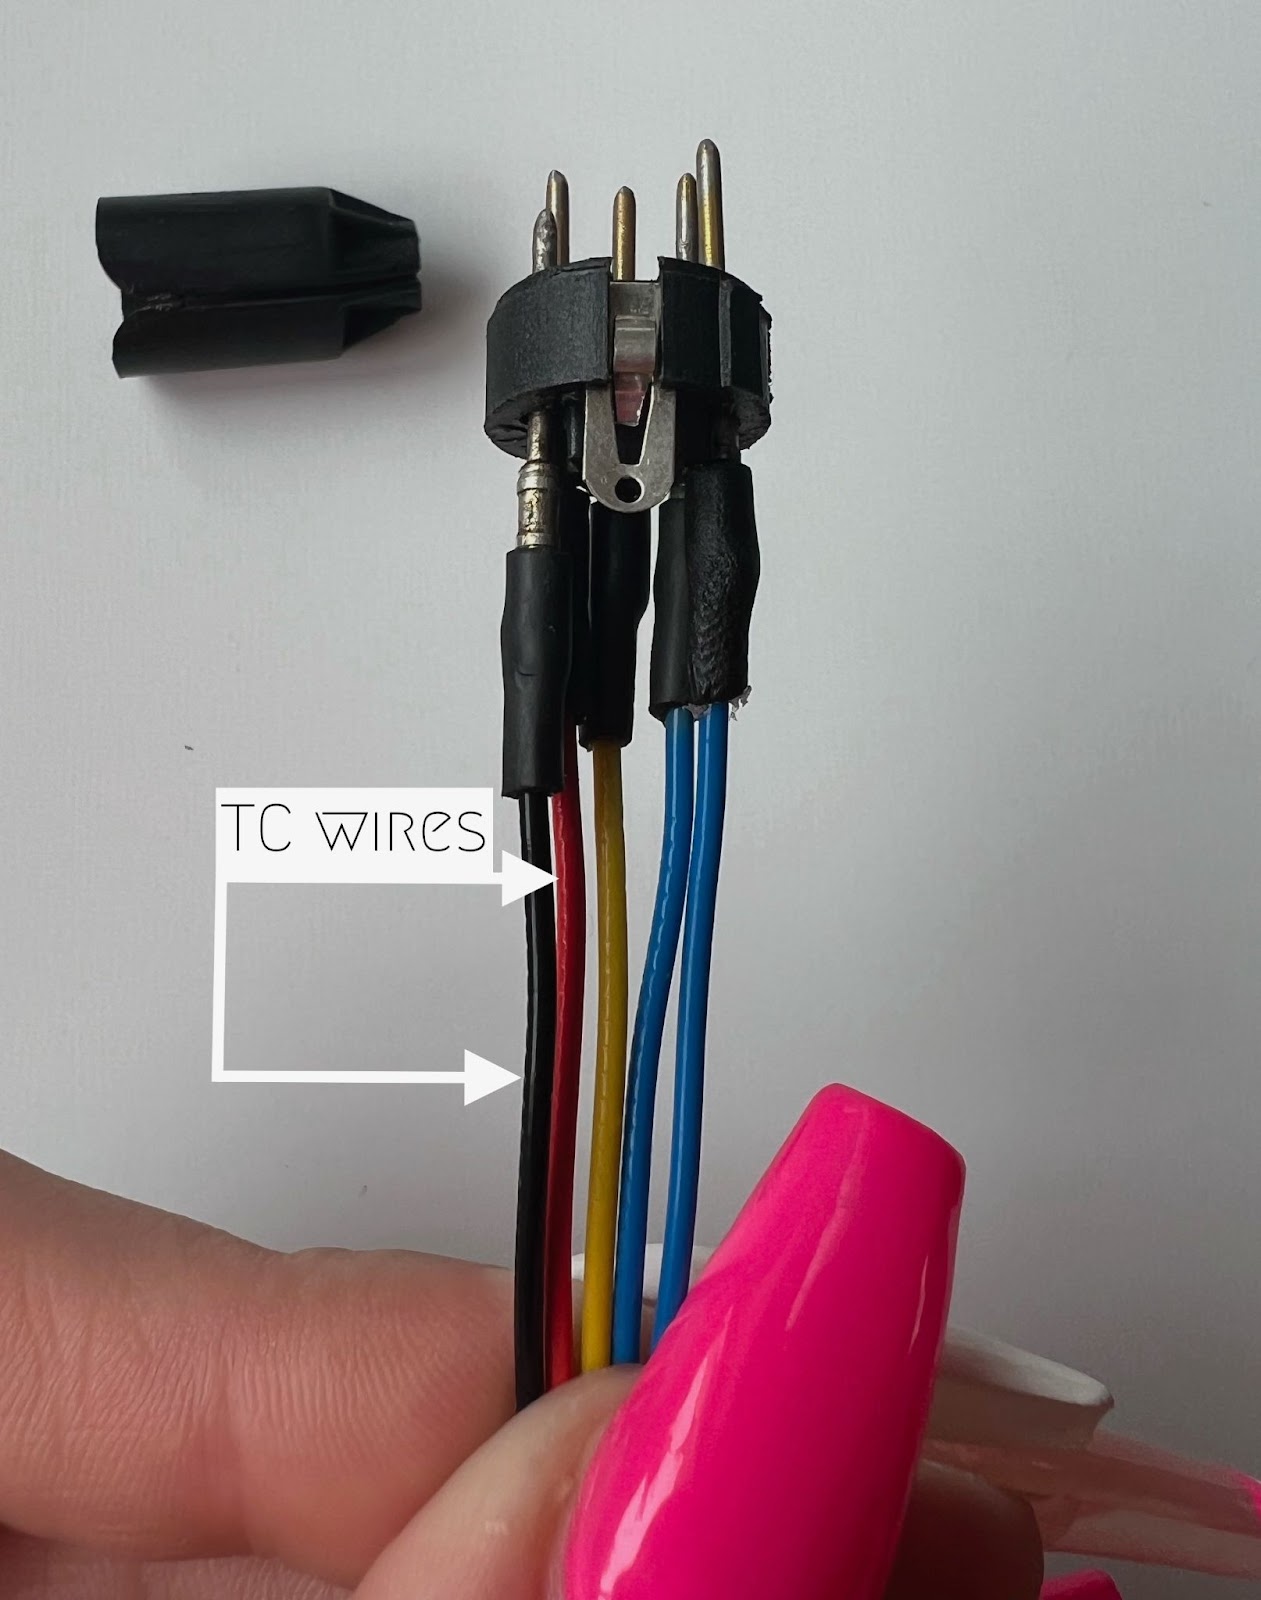
Step 8: Once you've located your TC wires, it is time to identify which is positive and which is negative, usually the red wire is positive and the black wire is negative. Sometimes you might find a white wire and a red wire, the white wire will be positive and the red will be negative.

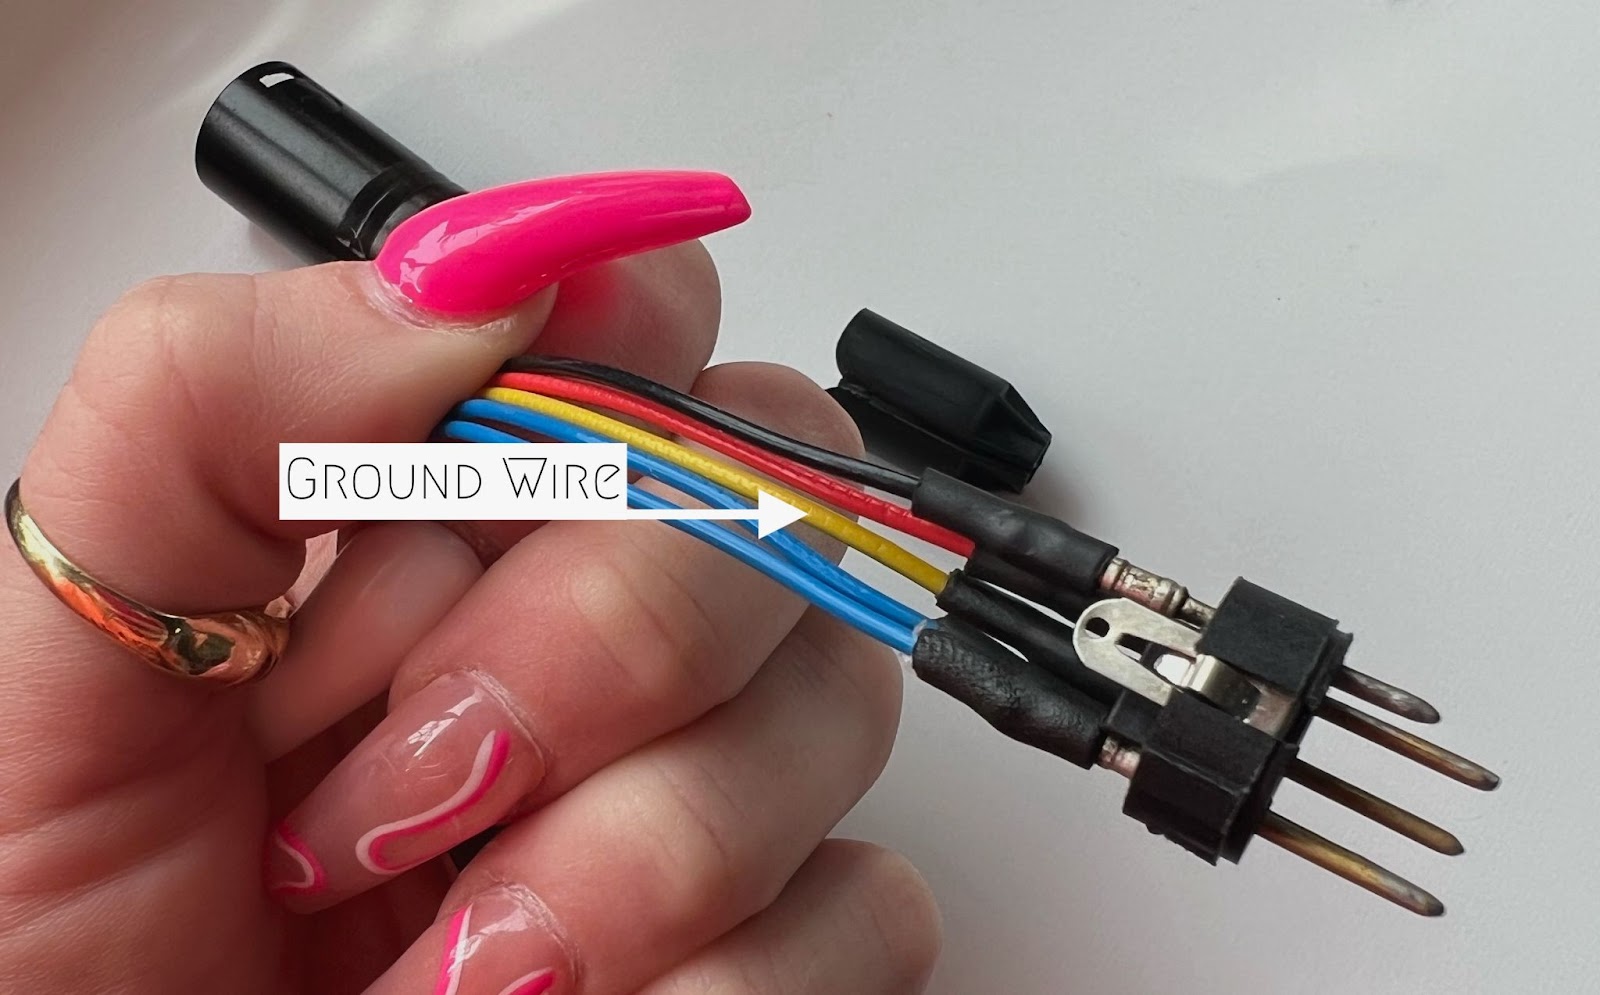
Step 9: Now look for the thickest wire of the bunch, this wire is usually the single obscure color in the group, which is usually either green or yellow. This is your Ground Wire.
Step 10: The other two remaining wires are your AC wires which produce power!
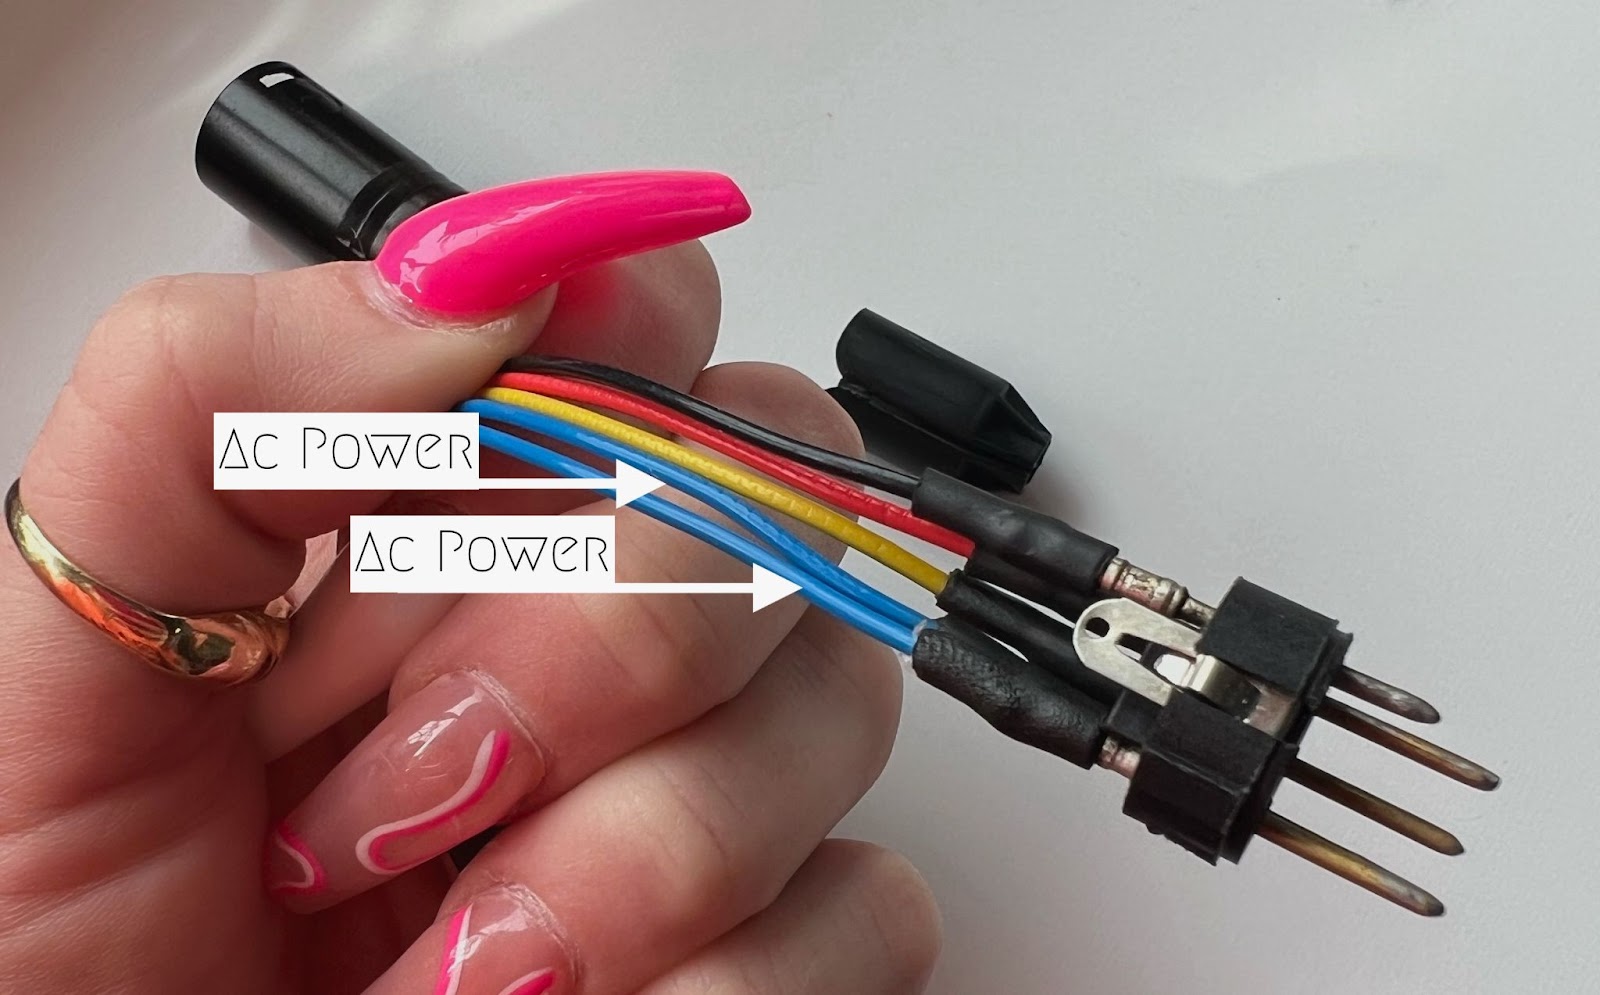
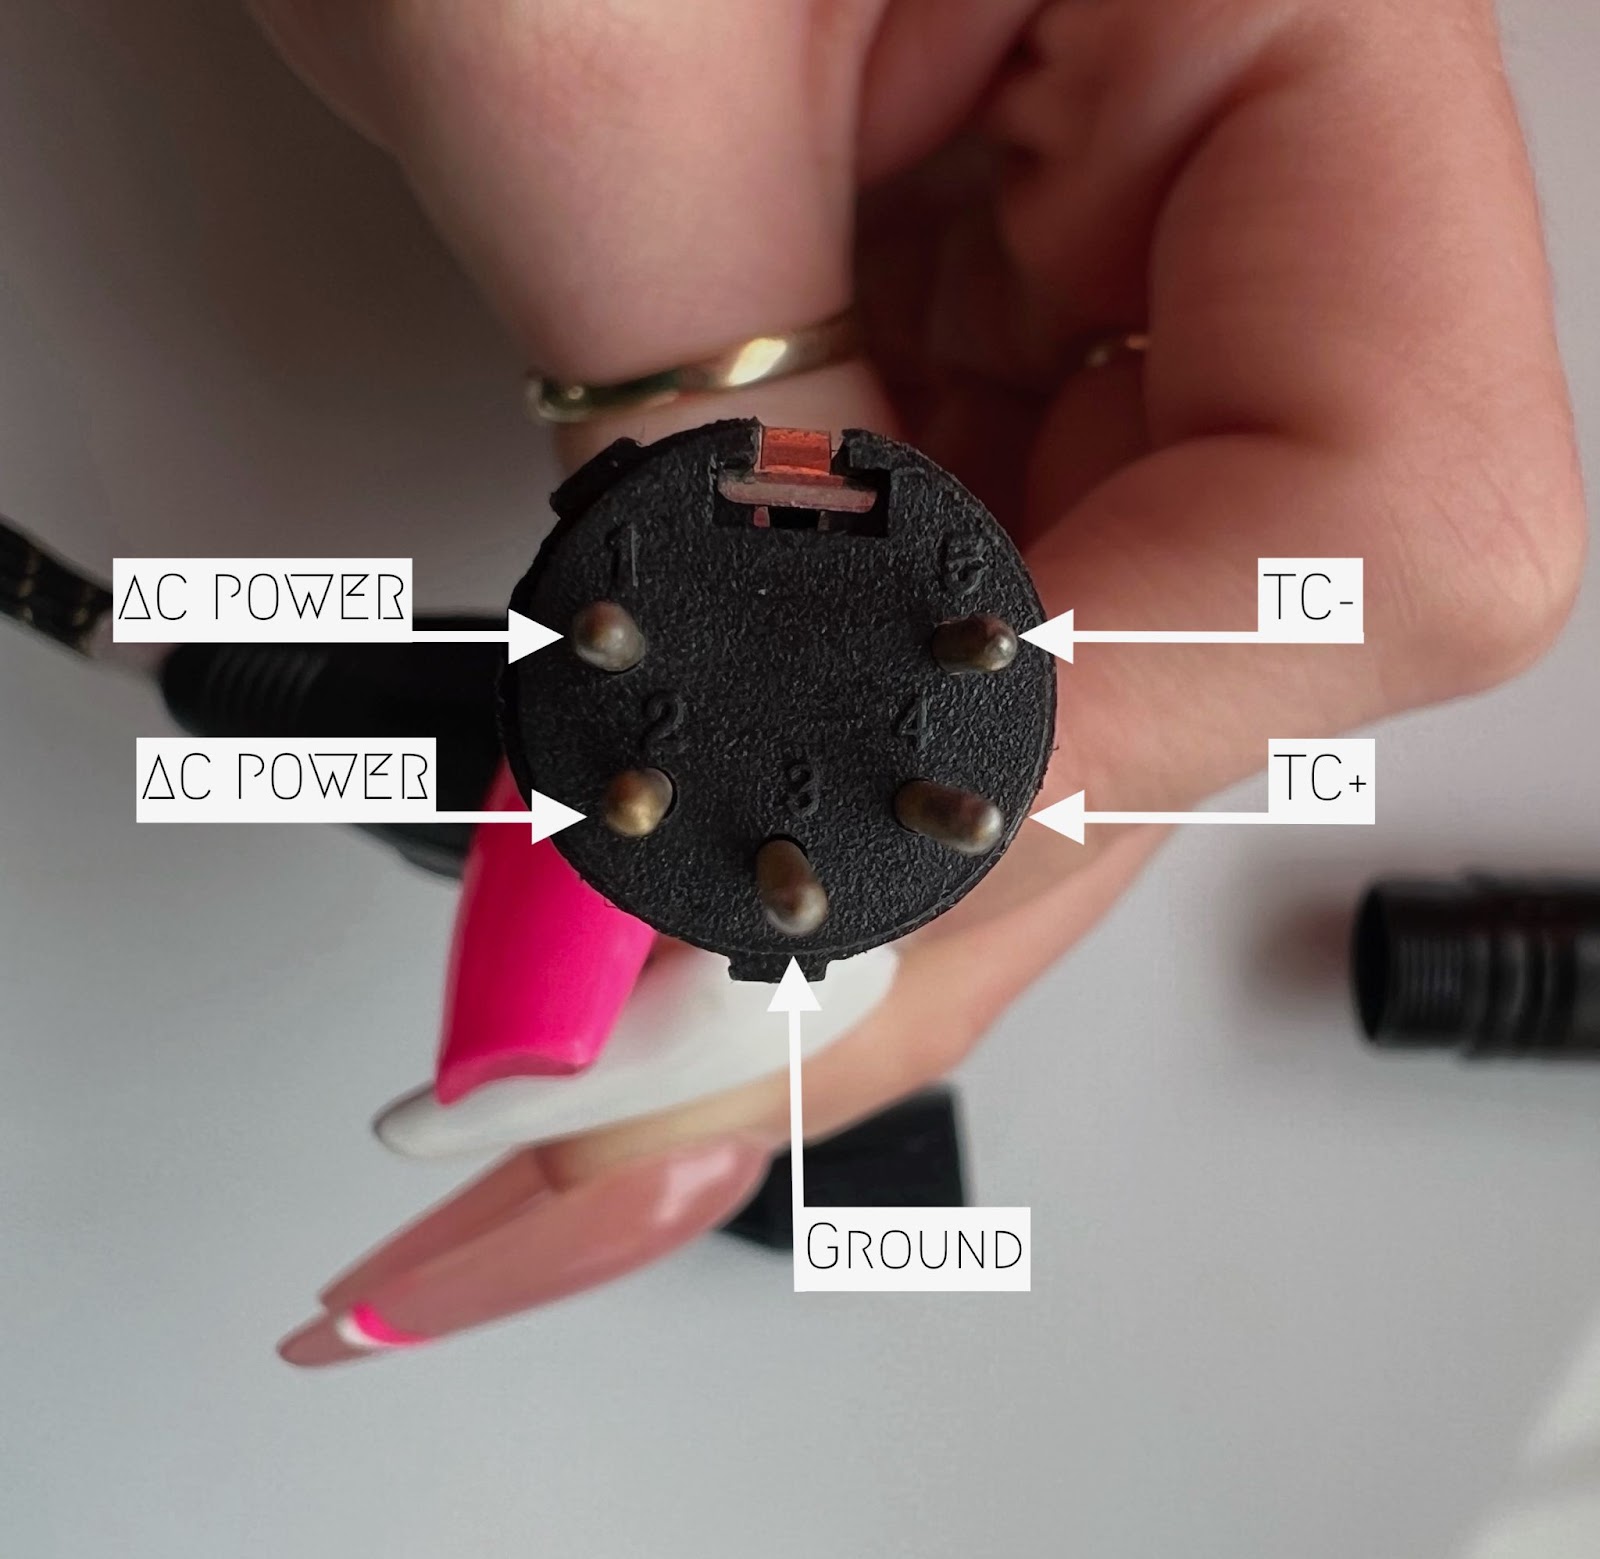
For this specific enail coil pictured above, the pin setup would be as follows:
Pin 1: AC, Pin 2: AC, Pin 3: Ground, Pin 4: TC+, Pin 5: TC-