Pulsar
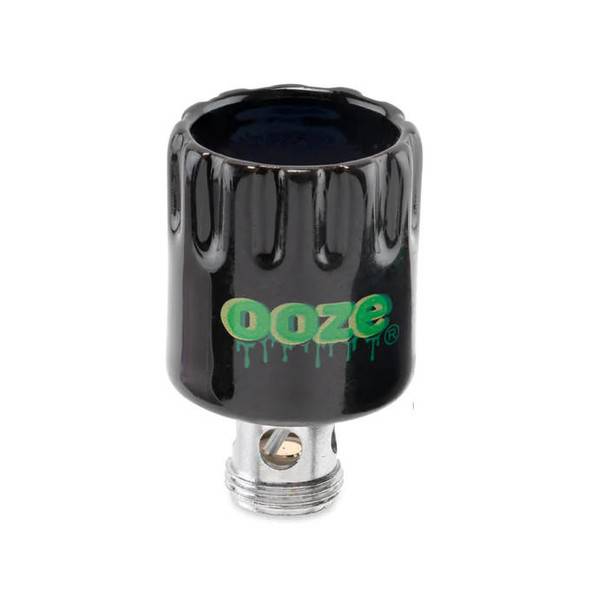
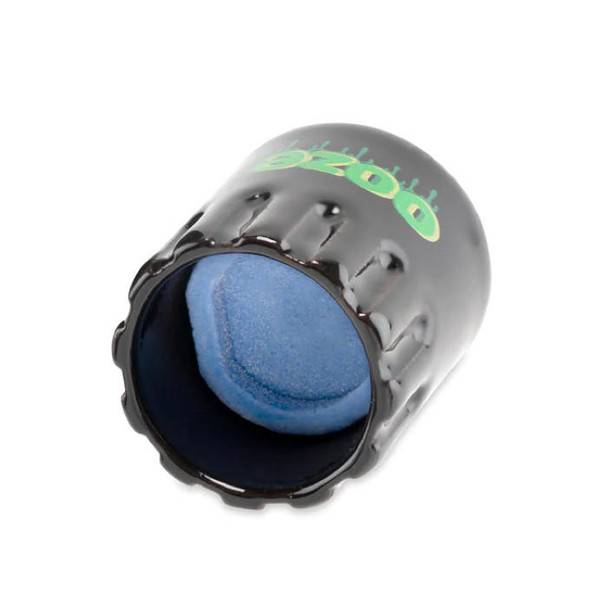
Pulsar RoK Dry Herb Coil: Ceramic Dish Coil - 1 Coil
- SKU:
- E-PLSR-ROK-CDRY-CL
- Condition:
- New
- Minimum Purchase:
- 1 unit
Description
Pulsar RoK Dry Herb Coil: Ceramic Dish Coil
The Pulsar RoK is where functionality meets performance and enables yet another way to enjoy your concentrates and flower.
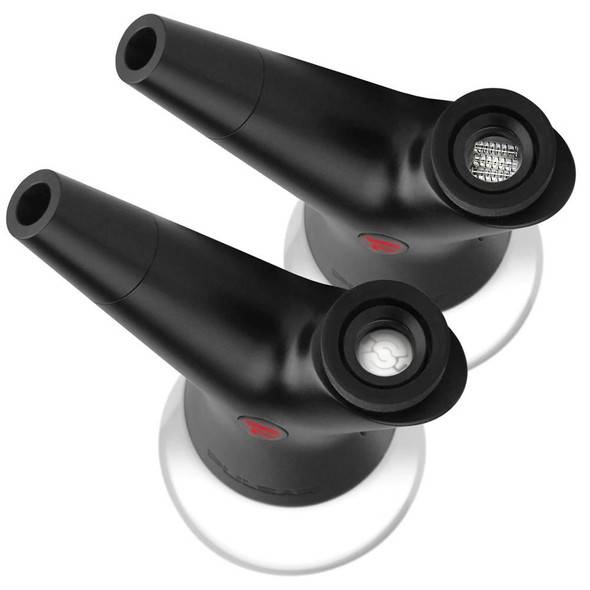
Yep, you heard that right, the RoK is a dual use electric dab rig, meaning it can be used to consume both concentrates and flower, talk about getting the biggest bang for your buck. This Pulsar Rok Electric Dab Rig kit includes a ceramic atomizer insert to be used with dry materials, a quartz atomizer insert for wax, and two carb caps tailored to each atomizer (based on what material you're using).
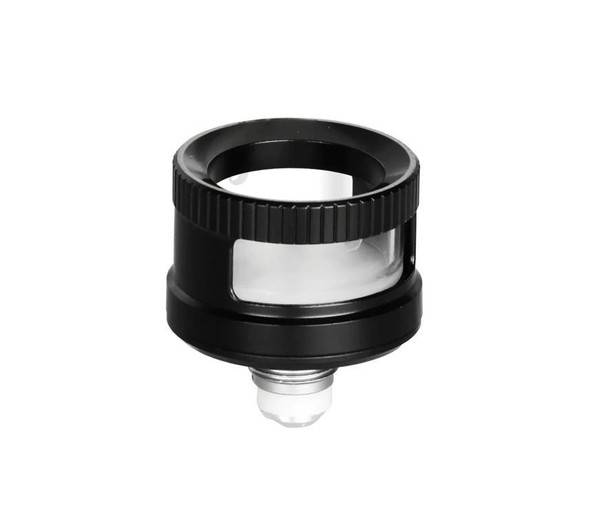
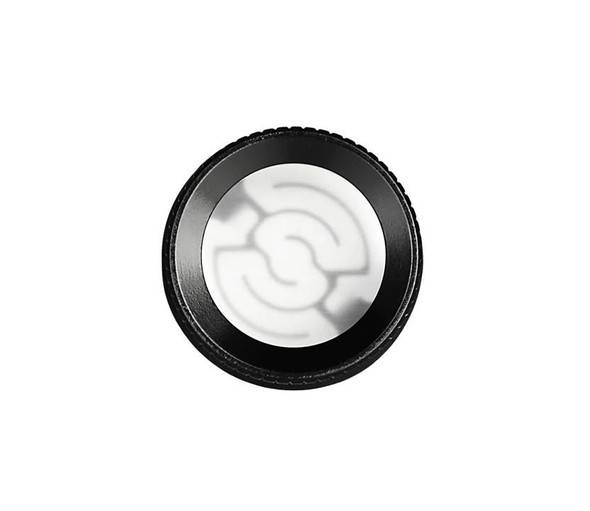
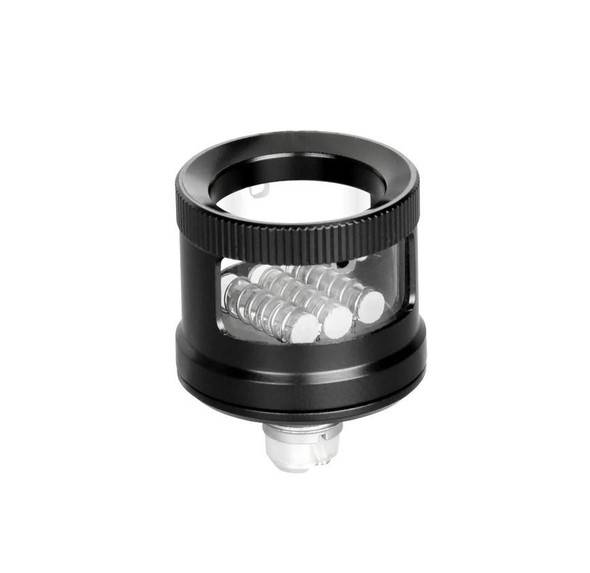
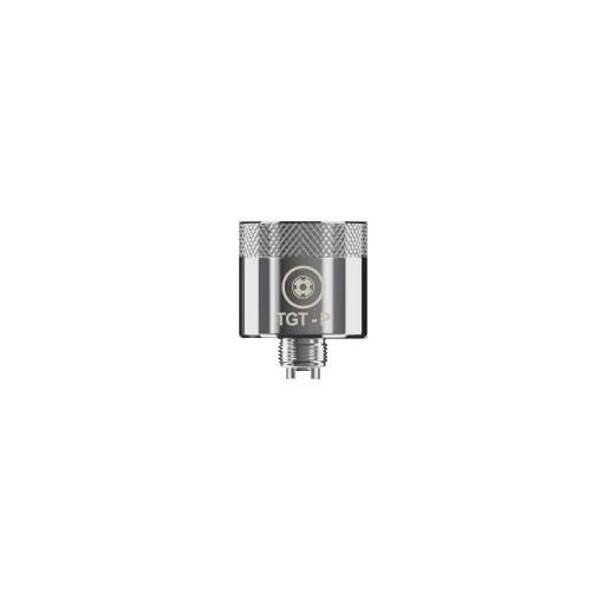
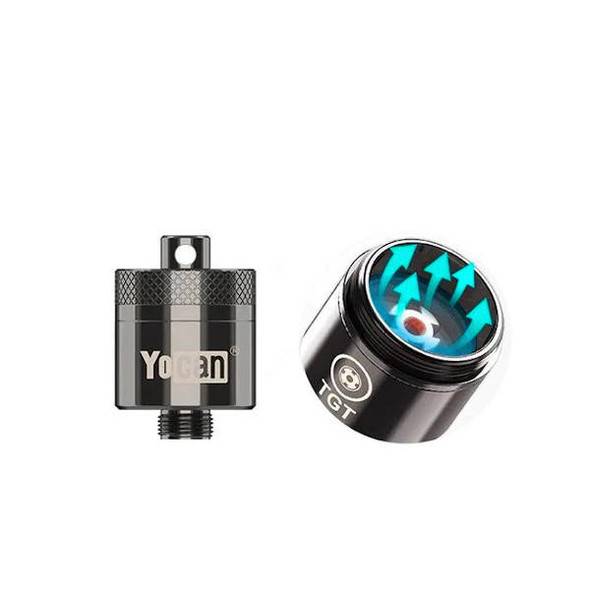
This coil/atomizer is a replacement ceramic coil for dry materials that is included in the RoK E-Rig kit. It is specifically constructed to be used with dry materials only! The Pulsar RoK Dry Herb Coil is made out of high quality ceramic in a metal casing. It is considered to be a coil-less atomizer so that your dry materials never come into contact with the heating element, mitigating the chance of burning through your flower instead of vaporizing it!
The RoK heats up to temperature in roughly 30 seconds, which helps to preserve flavor and clarity of your concentrates. A silicone band is located around the top of the atomizer for safe removal even if your RoK has just been used.
Specifications:
- Ceramic Coil/Atomizer
- Metal Body
- Dry Herb Use Only
Features:
- Ceramic for Clean Flavors
- Full Metal Body Providing Durable Construction
- Use Your Electric Dab Rig with Flower as well as Wax
Includes:
- 1 x Pulsar RoK Ceramic Dry Herb Atomizer
Quick Tip:
Benefits of Low Temp Dabs
- More flavor: Because the terpenes are vaporized at their preferred temperature, their properties will be fully active, providing you with a full flavor profile.
- Easier to consume: Because low temperature dabs are less harsh on your lungs and throat, the overall dabbing experience is more pleasant.
- Longer lasting: The lower the temp, the longer it takes for your concentrates to vaporize away, allowing you to save money.
Reasons not to take Low Temp Dabs
- Smaller clouds: At lower temperature, less product is burned, which not only means that your cloud sizes will be smaller, but that you also have to consume a higher amount to achieve the desired effect.
- Milder potency: Because temperature directly correlates with potency, dabbing at lower a temperature will give you milder effects. This doesn’t mean you won’t feel the effects, but that the intensity will not be as strong as with higher temperature.
- More cleanup: Lower temperature dabs will produce more buildup residue once you’re done dabbing, resulting in more cleaning.
To Read More About High Temp and Low Temp Dabbing Click Here!
How To Use Pulsar Rok
- 1. Make sure your device is 100% charged before use, it’ll take approximately 2 hours for a complete charge. The RoK’s lights will pulse red when charging and illuminate green when the device is fully charged. Do not overcharge the battery, the Rok displays the battery life when turned on.
-
- Three Green Flashes = Full Charge
- Three Yellow Flashes = Medium Charge
- Three Red Flashes = Low Battery
-
- 2. Add water to the bottom glass beaker base on the Rok, it is recommended to fill the beaker halfway. You can remove some water based on preference, but do not fill it past the halfway point.
- 3. Attach the RoK disc perc downstem to the opening found between the two metal air path tubes. Insert with a slight twist motion and secure the perc flush inside the silicone housing. Do not use excessive force when affixing the perc to the unit.
- 4. Set the RoK beaker base filled with water onto a level surface. Gently place the RoK body onto the beaker base aligning the lip on the beaker base with the silicone track found at the bottom of the RoK body.
- 5. Once aligned, gently press down at a slight angle, simultaneously applying a rolling pressure to the RoK body so that the lip and track attach and lock into place. The fit should be snug and secure. Do not force or place high pressure onto the beaker base on this step.
- 6. Turn the device on by clicking the power button 5 times fast.
- 7. Toggle through the temperature settings by clicking the power button 3 times fast.
-
- Green Light - 680 Degrees
- Blue Light - 780 Degrees
- Red Light - 850 Degrees
-
- 8. Now that the temperature setting is selected, you can use a loading tool/ dab tool to place your desired amount of concentrates into the quartz bucket insert. Make sure to place the concentrates onto the bottom of the quartz bucket insert and not the side walls.
- 9. Press and hold the power button for 5-15 seconds to preheat the concentrates to your desired preference.
- 10. Place the carb cap on top of the atomizer.
- 11. Press and hold or “pulse” the power button to fire the RoK to your desired preference. The device will time out after the button is held for 30 seconds.
- For a more hands-free experience press the power button two times to activate session mode which will heat the device to the selected temperature and hold it for 30 seconds. To stop session mode after it’s been activated, simply click the button two times again.
- 12. There is a ceramic coil cup and a dry herb carb cap included in the RoK kit that is made to be used with dry materials. You can use this ceramic coil cup at the lowest heat setting to produce a dry herb vaporizer experience. The higher heat settings will produce more of a flower and waterpipe kind of experience.
How Do I Clean My Pulsar RoK Electric Dab Rig?
- For optimal use and flavor, use a cotton swab to clear out any left-over residue between sessions. After every few sessions it is recommended to clean the cups with cotton swabs soaked in isopropyl alcohol until clean to preserve the quality and lengthen the lifespan of your coil. Make sure to wait until the coil has cooled down before cleaning. DO NOT submerge the entire atomizer in solution.
- To clean the glass components on the RoK start by removing the glass parts, clean with isopropyl alcohol and rinse with cold water. Be sure to allow all parts to dry completely before reassembling.
- To clean the metal pathways, remove the glass downstem and pull out both metal tubes out of the silicone housing and soak in isopropyl alcohol. Use a cleaning brush to remove and left-over residue after soaking. Once all residue is removed, rinse with cold water and let air dry. To further clean the air path, disassemble the RoK collar and remove the coil, remove the mouthpiece and silicone splash protector. Dip a cleaning brush into alcohol solution and proceed to clean both air paths that hold the metal air path tubes. Rise the cleaning brush with water and repeat cleaning the air paths.
- Clean the mouthpiece, remove the metal mouthpiece and silicone splash guard insert, clean them both with mild soapy water and allow air to dry. Be sure to insert the silicone guard by following the track line within the RoK mouthpiece cavity.
- Periodically clean the connection to the atomizer on the base with a cotton swab dipped in alcohol, let dry before reattaching the atomizer.


