DR Dabber
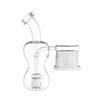
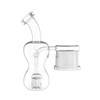
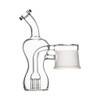
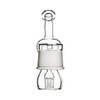
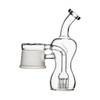
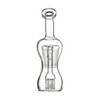
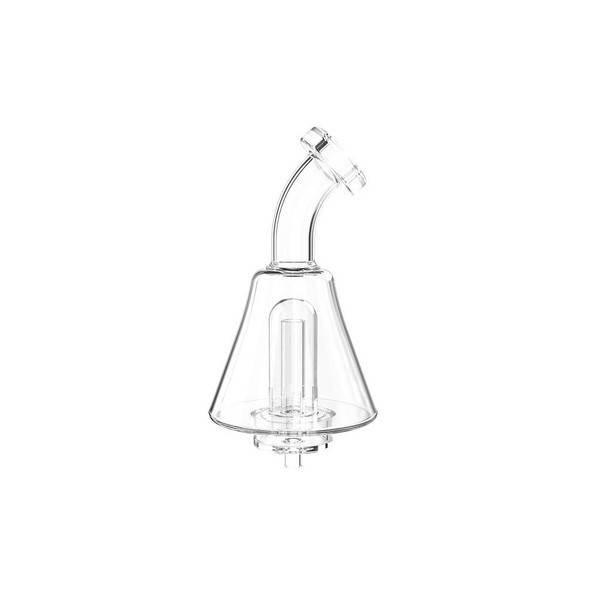
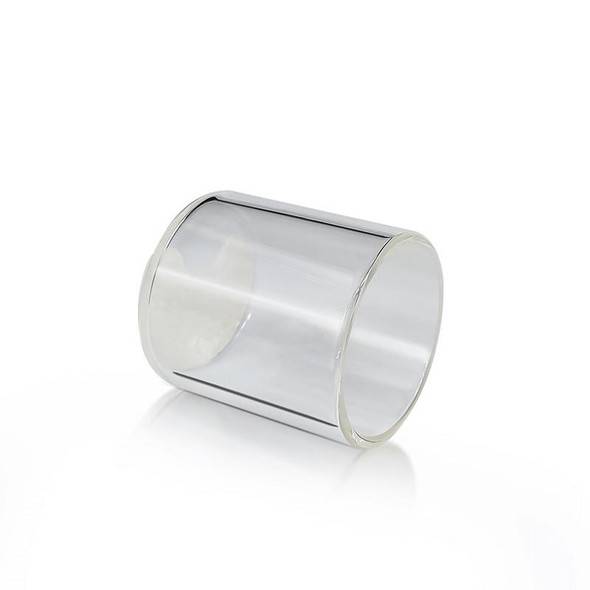
Dr Dabber Switch Glass Attachment
- SKU:
- E-DRDBR-SWCH-GLS
- UPC:
- 854904007241
- Condition:
- New
- Availability:
- Same Day Shipping! (When order placed before 2pm EST)
Description
Dr Dabber Switch Glass Replacement
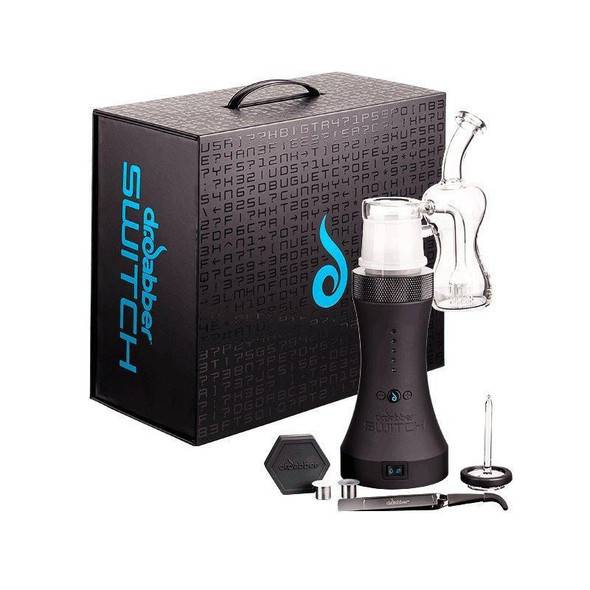
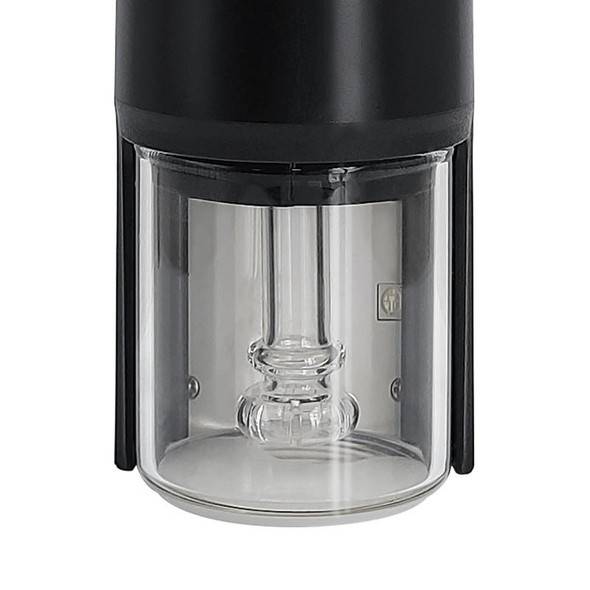
The SWITCH Glass Percolator is specifically designed for optimal airflow and easy cleaning with both oil and flower. Larger percolating holes allow for a smooth, unrestricted experience while also decreasing the chance of clogging. This unit is included in the SWITCH packaging, but it can be purchased separately as a replacement or to use exclusively with oil/flower.
FEATURES:
- Comes in Standard or All Black
- Great Smooth Hits
- Very Easy to clean
- Great Airflow
- Tree Arm Percolator
Quick Tip:
A percolator is a compartment within your piece that allows water to pass through, acting as a filtration system that filters the vapor so that the hits are cleaner and smoother. While percolators ultimately reduce the potency slightly through the filtration process, they are practically essential as without them, each dab hit would simply be way too harsh.
There are various perc styles out there to choose from:
- Tree percolators are extremely popular, looking like a network of tree limbs, and due to their design, they offer exceptional filtration, but are a bit more fragile and tough to clean.
- Showerhead percolators are also high in demand, with a showerhead-like structure containing multiple holes which pull the smoke into a filtration chamber.
- Diffused downstem percolators improve airflow with a series of slits that face downward.
The way Induction Heating Works with the Dr Dabber Switch:
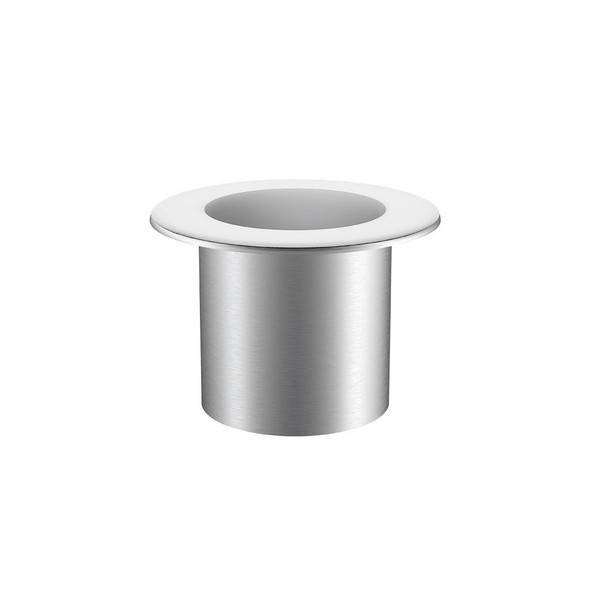
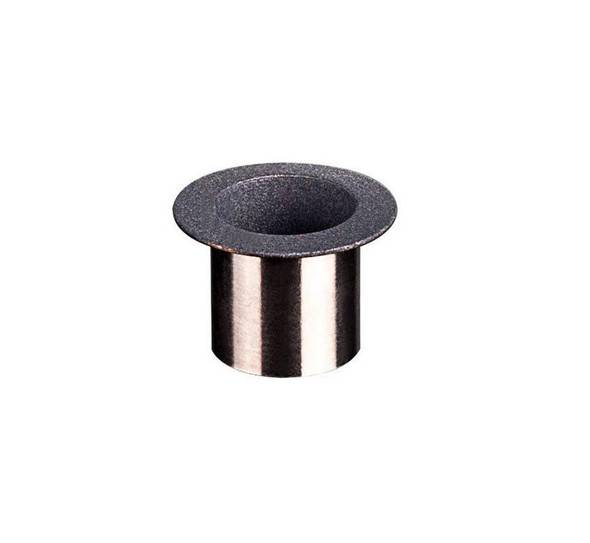
The magnetic component in the Switch heats the induction cups via magnetic fields, there is no coil involved with this method. Induction heating is one of the most precise ways to heat your concentrate or flower it is also one of the safest. When the two components are away from each other they will not heat unlike any other heating element. There is also a top to that closes off most of the oxygen to the induction cups which provides a more precise heating and proper vaporization of its contents. Induction Heating in the Dr Dabber Switch can heat dry materials over the point of combustion without actually burning them, giving you the most out of your terpenes.
To View More Dr Dabber Products Click Here!
To Learn about the Dr Dabber Switch Click Here!
Warranty Information
How Do I Clean My Dr Dabber Switch?
- Be sure the SWITCH is powered off and that the Ceramic Induction Cups, glass top and Glass Percolator Attachment are cool to the touch before cleaning.
- The SWITCH unit, Induction Cups, Ceramic Filter, Glass Top, and Glass Percolator
- Attachment can be cleaned with isopropyl alcohol and cotton swabs/wipes. Be sure all parts have dried completely before using the device again.
- The Dr. Dabber Crystal Induction Cup (sold separately) can be cleaned with isopropyl alcohol and a cotton swab.
Troubleshooting the Dr Dabber Switch
- RED and BLUE flashing LEDs indicate an internal error has occurred with your device. Upon the SWITCH entering the RED and BLUE flashing sequence, turn the device off by returning the Power SWITCH to the center position and follow the directions below.
- RED and YELLOW flashing LEDs indicate an error occurred with your device. Upon the SWITCH entering the RED and YELLOW flashing sequence, turn the device off by returning the power SWITCH to the center position and follow the directions below.
- Reset the device by rotating and removing the magnetic base plate from the bottom of the SWITCH. Once the base plate is removed, position the retainer clips out of the battery’s path to pull out the battery pack. Keep the battery pack removed for 10 seconds.
- After 10 seconds, put the battery back into the device and reposition the retainer clips. Replace the base plate and turn the unit back on. The unit should go back to normal functionality.
If your device is still not working correctly, please send an email to info@e-nail.com, stating the specific problem. Please include a picture or video showing the fault and also include your order number.


